
Hello Everyone The Scrapbooking Queen has been
asked by many of her Royal Follower
to show how to make the Double Tri~Folder Shutter Album
she did for The Queen's Royal Court Design Team
So The Queen figured she make another
one really quickly and post it with direction
for all my Royal Followers..

Since The Queen is doing a baby girl mini album she choose
Core'dinations Canvas Texture papers in pretty pink
You need (2) sheets of 12 X 12 Card Stock in the color of
your choosing (mine is Pretty Pink),
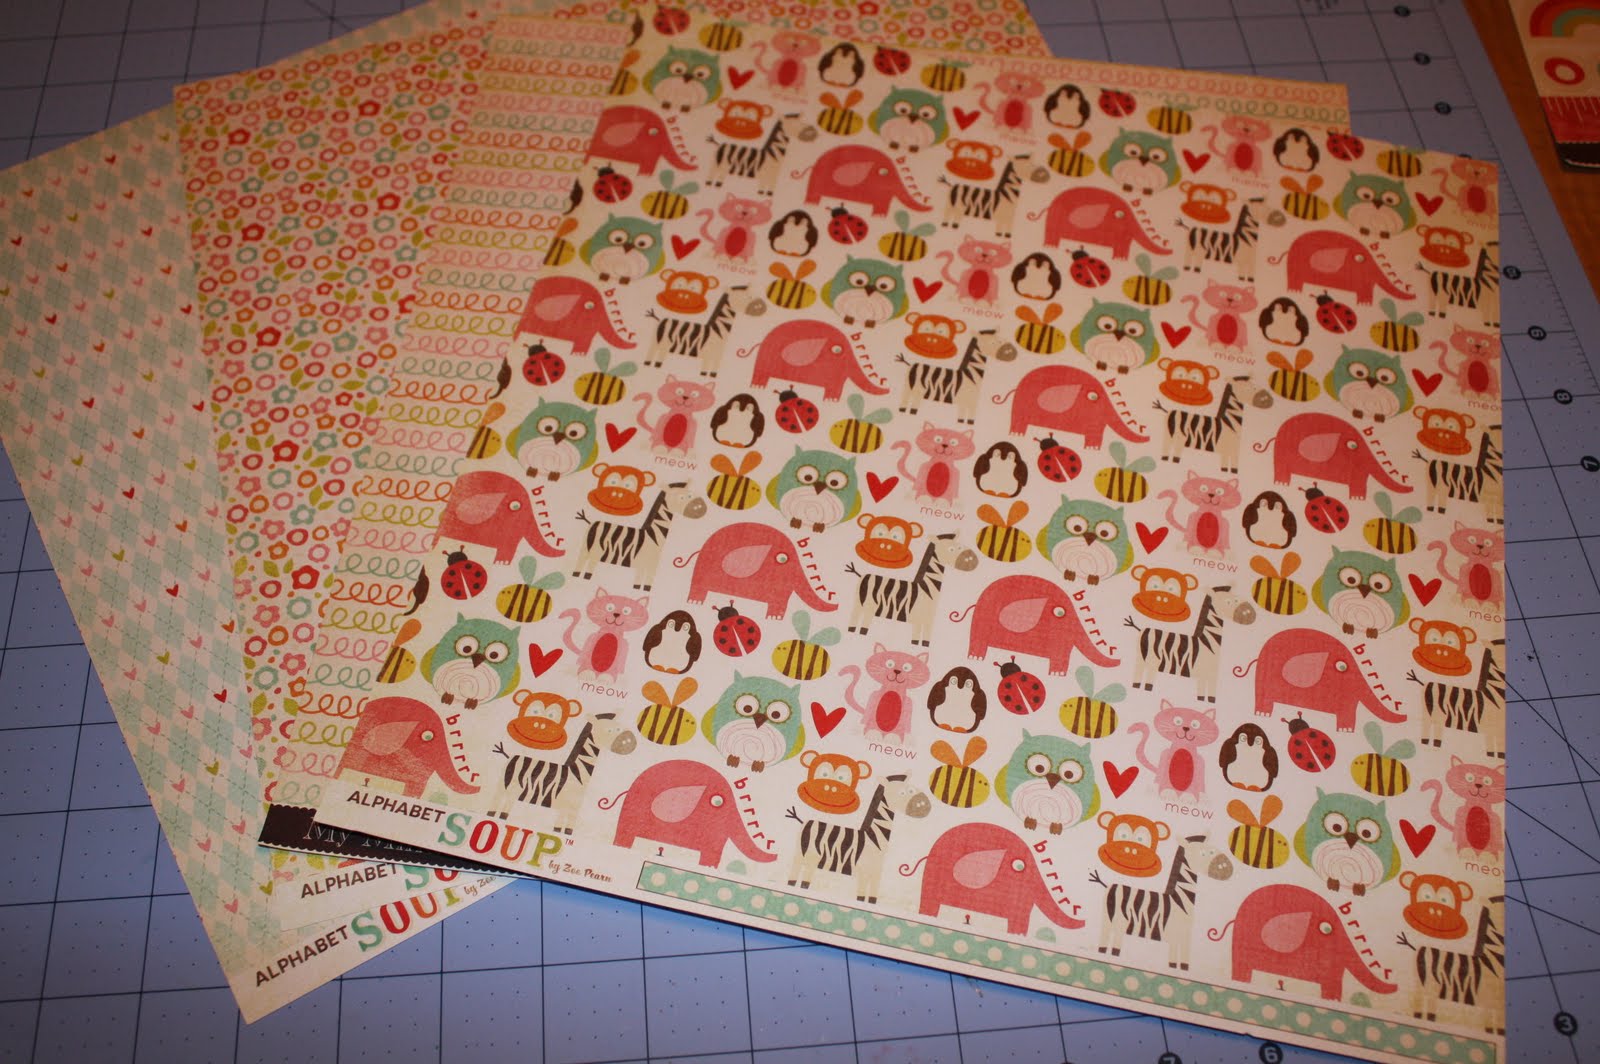
a few sheets of coordinating Designer Papers
{Alphabet Soup ~Girl Pack}


Cut the first sheet of card stock in half, so you
have 2 pieces of 6 X 12.
Cut the second 12 x12 card stock into {3} 6 X 4 pieces

Laying your Card Stock with the long edge on top,
score both pieces at 2, 4, 8, and 10.
. 

Then turning the Card Stock, and using your cutting blade,
place your card stock at the 2 inch mark and
cut all the way from your 2" score line to your 10" score line
Flip your card stock and do the same on the other side.
You will need to to this for both pieces.

You can see how the cut line should look once you
cut down the on your sheet...

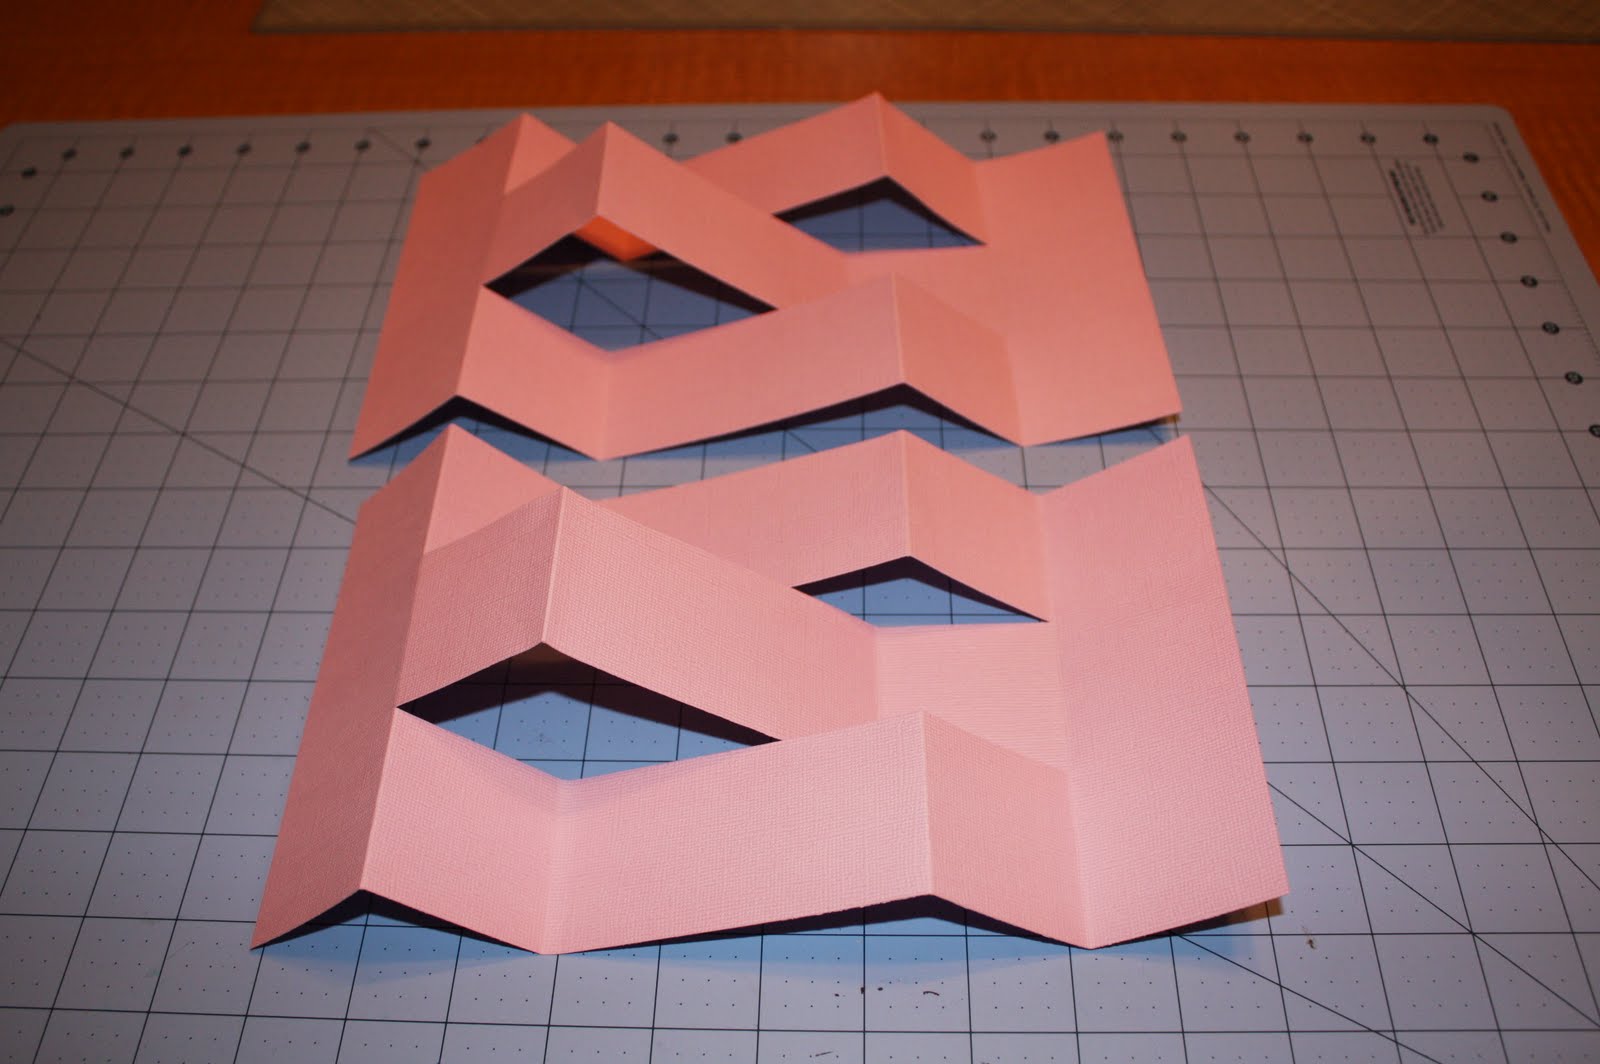
Now you do the mountain~ valley fold technique on both
of your pieces of paper. they should look like this
{see picture below}
Now take some of your red Sticky tape and place
on both ends of your tri-fold pieces...
{this tape is not very forgiving so make sure you right on}

This is where you place one of your
4 x6 pieces of card stock
Will look like this once taped down...

Now do the same on both ends with the other 2 pieces
of 4 x 6 card stock... just make sure you fold the
album up so you can judge placement
of the front of the ablum cover

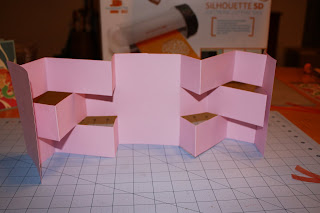
Once you are done your whole card base
should look like this.

The Queen used red sticky tape on the back of the
mini album to hold ribbon in place this helps
to finish off album with a nice bow
Make sure you only tape on the back 4 x 6 piece to insure
your card opens properly.

Now your designer papers is used to complete the inside
of your mini album just measure your
spaces and layout your paper
The Queen used Stampin up Ink Pixie Pink
to ink around all the edges

Here a picture of the finished album with ribbon
and coordinating square for front of mini album

Now you can fit a picture on the inside 4 x 6 back page
and many of the other square are perfect for
notes and smaller pictures...

The Queen really loves how this turned out and is so sure
there's a special MOM who gonna love
to get this as baby gift...

The Queen will be adding some cricut cuts
and personal it with baby name once
she has proper spelling...
she has proper spelling...
Hope you enjoyed this tutorial make sure
you come back and visit The Queen in
her castle again ...
9 comments:
Ohhh I love this. I am going to make one tomorrow and send it to my mom for a birthday card next month. TYFS
Thanks so much for the tutorial. I'm going to try to fit making one of these into my week.
Thank you for such a wonderful tutorial. I hope you week is blessed!!
Gotta try one of these, thanks for the inspiration!
Thank you for these instructions, I can't wait to try it now!
Ohhh so pretty, I must try this, thnak you for the tutorial!
I visited a teacher friend the other week and he had one of these cards propped on his desk! I spend about a half hour trying to figure out how it was constructed. Now I don't need to anymore because of your awesome tutorial! Thanks so much for this!!!
Thanks Theresa! Great tutorial-looking forward to trying this.
Chris (CrafteMama)
Thanks so much for this tutorial, it was easy to follow. I have made the basic album, now for the decorating part....can't wait to see it finished!
Bsbs xo
Post a Comment