Showing posts with label Xyron. Show all posts

Wednesday, July 16, 2014

Simple Stories, May Arts and Xyron


How much fun can you have  with Xyron, Simple Stories
and May Arts Ribbon?  Well you gonna find out all
this week the design teams from each of these wonderful
companies are showcasing project using 
all the goodies you can handle ...
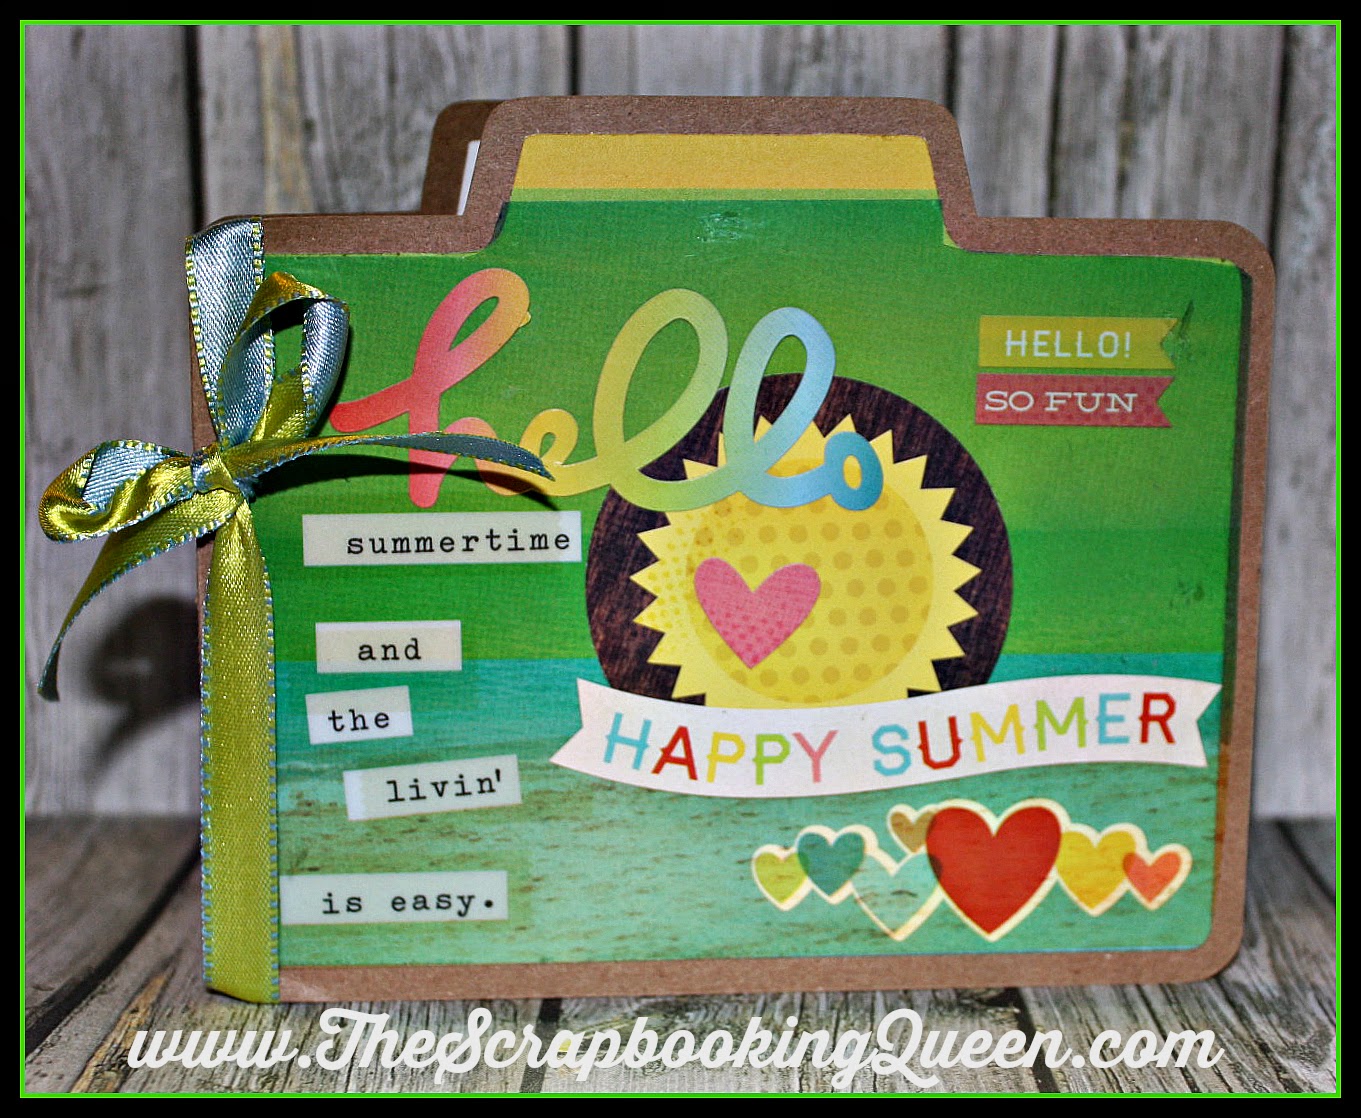
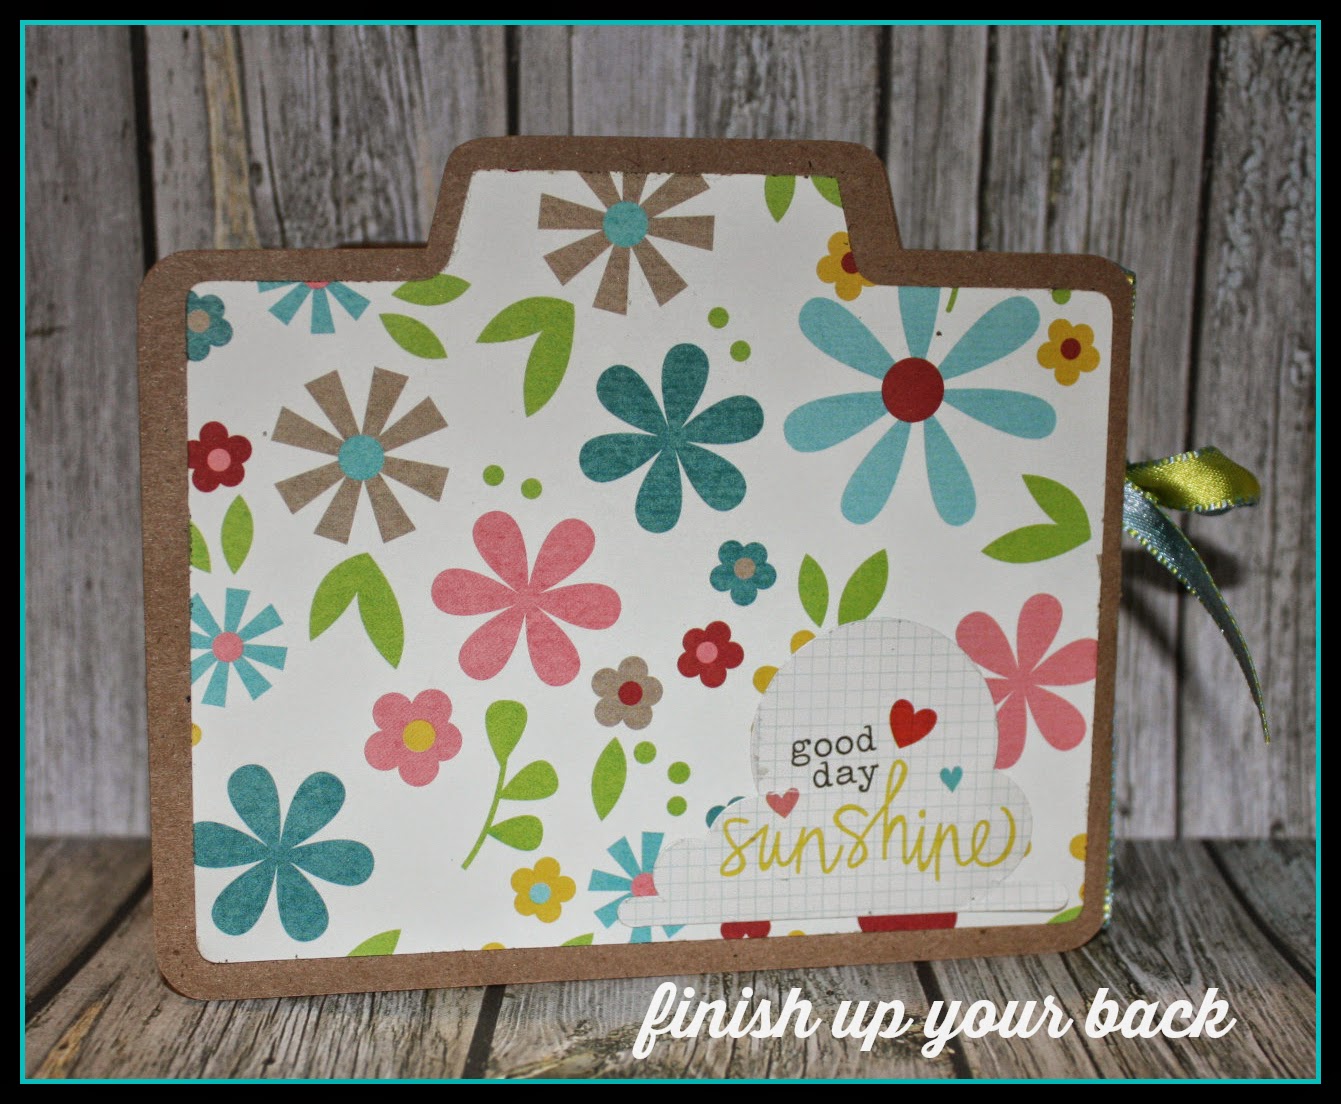
The Queen has created an adorable camera card
using Good Day Sunshine! 
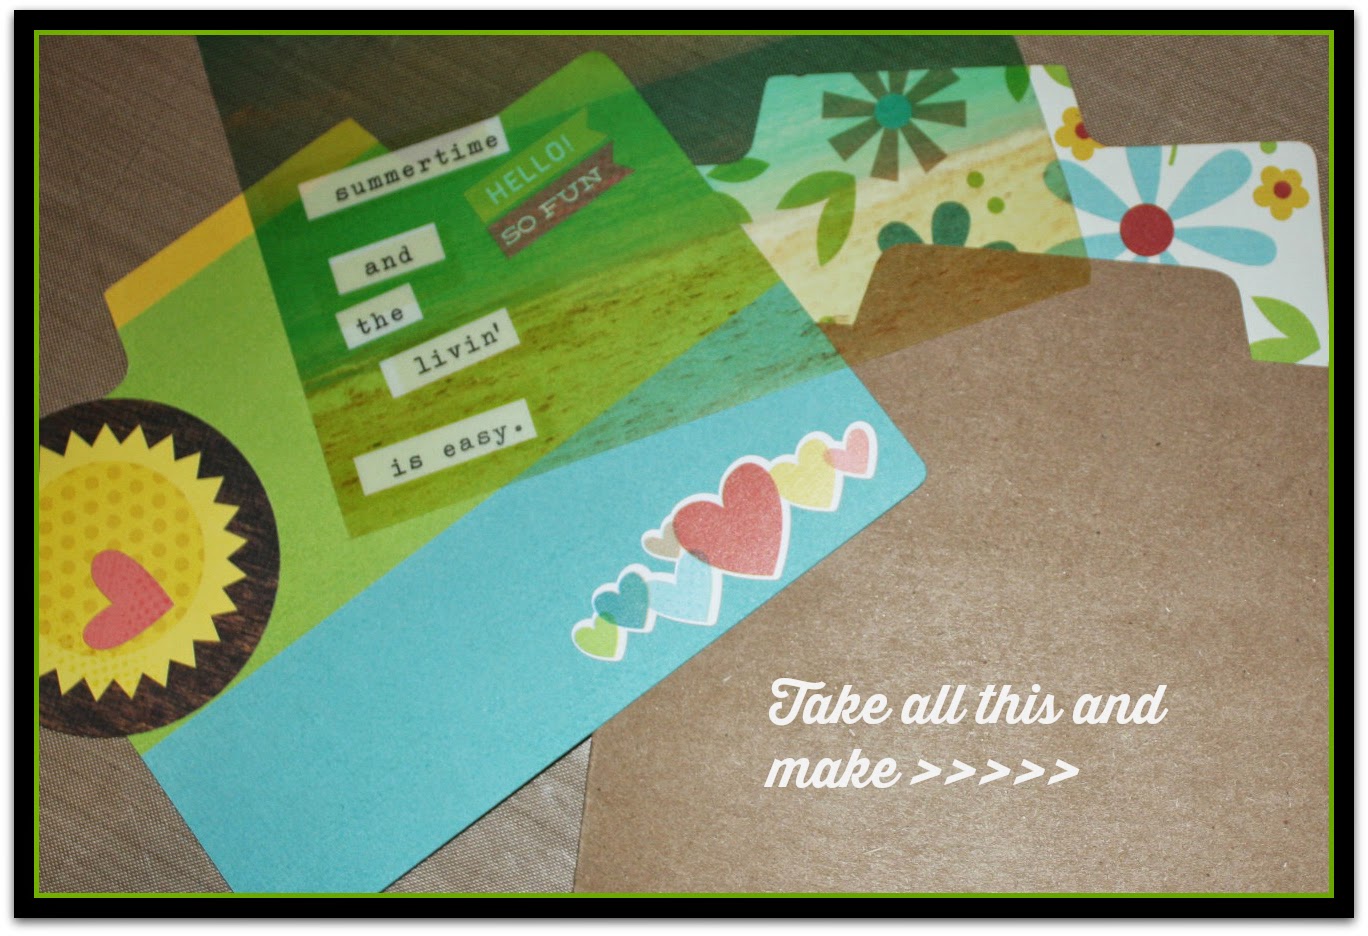
How cute is that ...
Now you know The Queen loves her favorite 
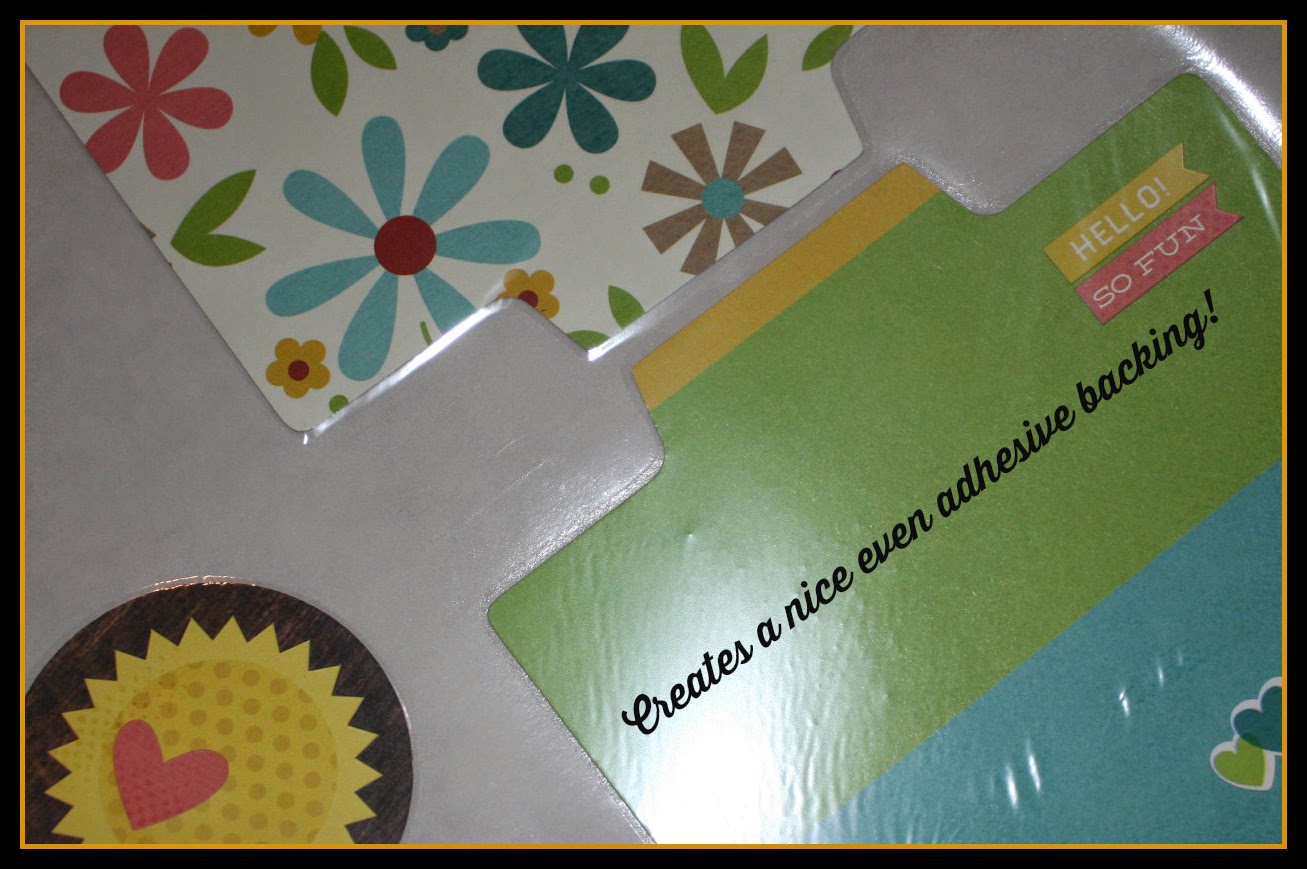
Xyron 9: Creative Station 
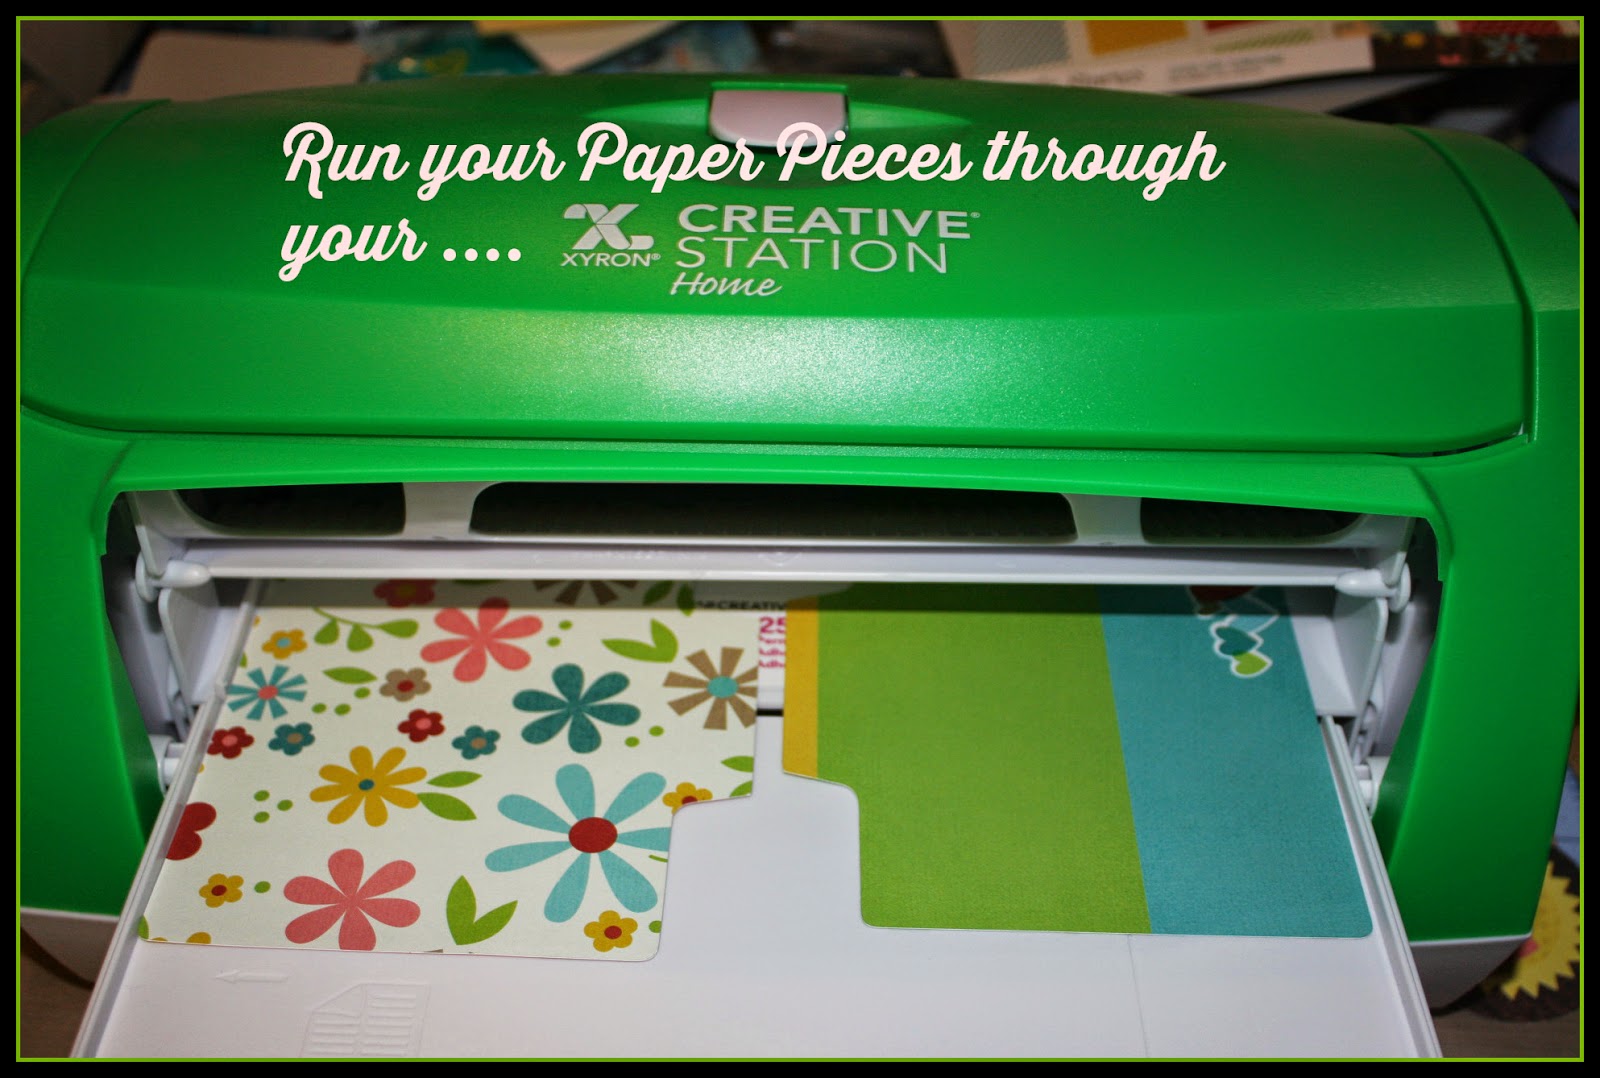
You get a great adhesive back paper pieces
and it creates a sticker for you! 
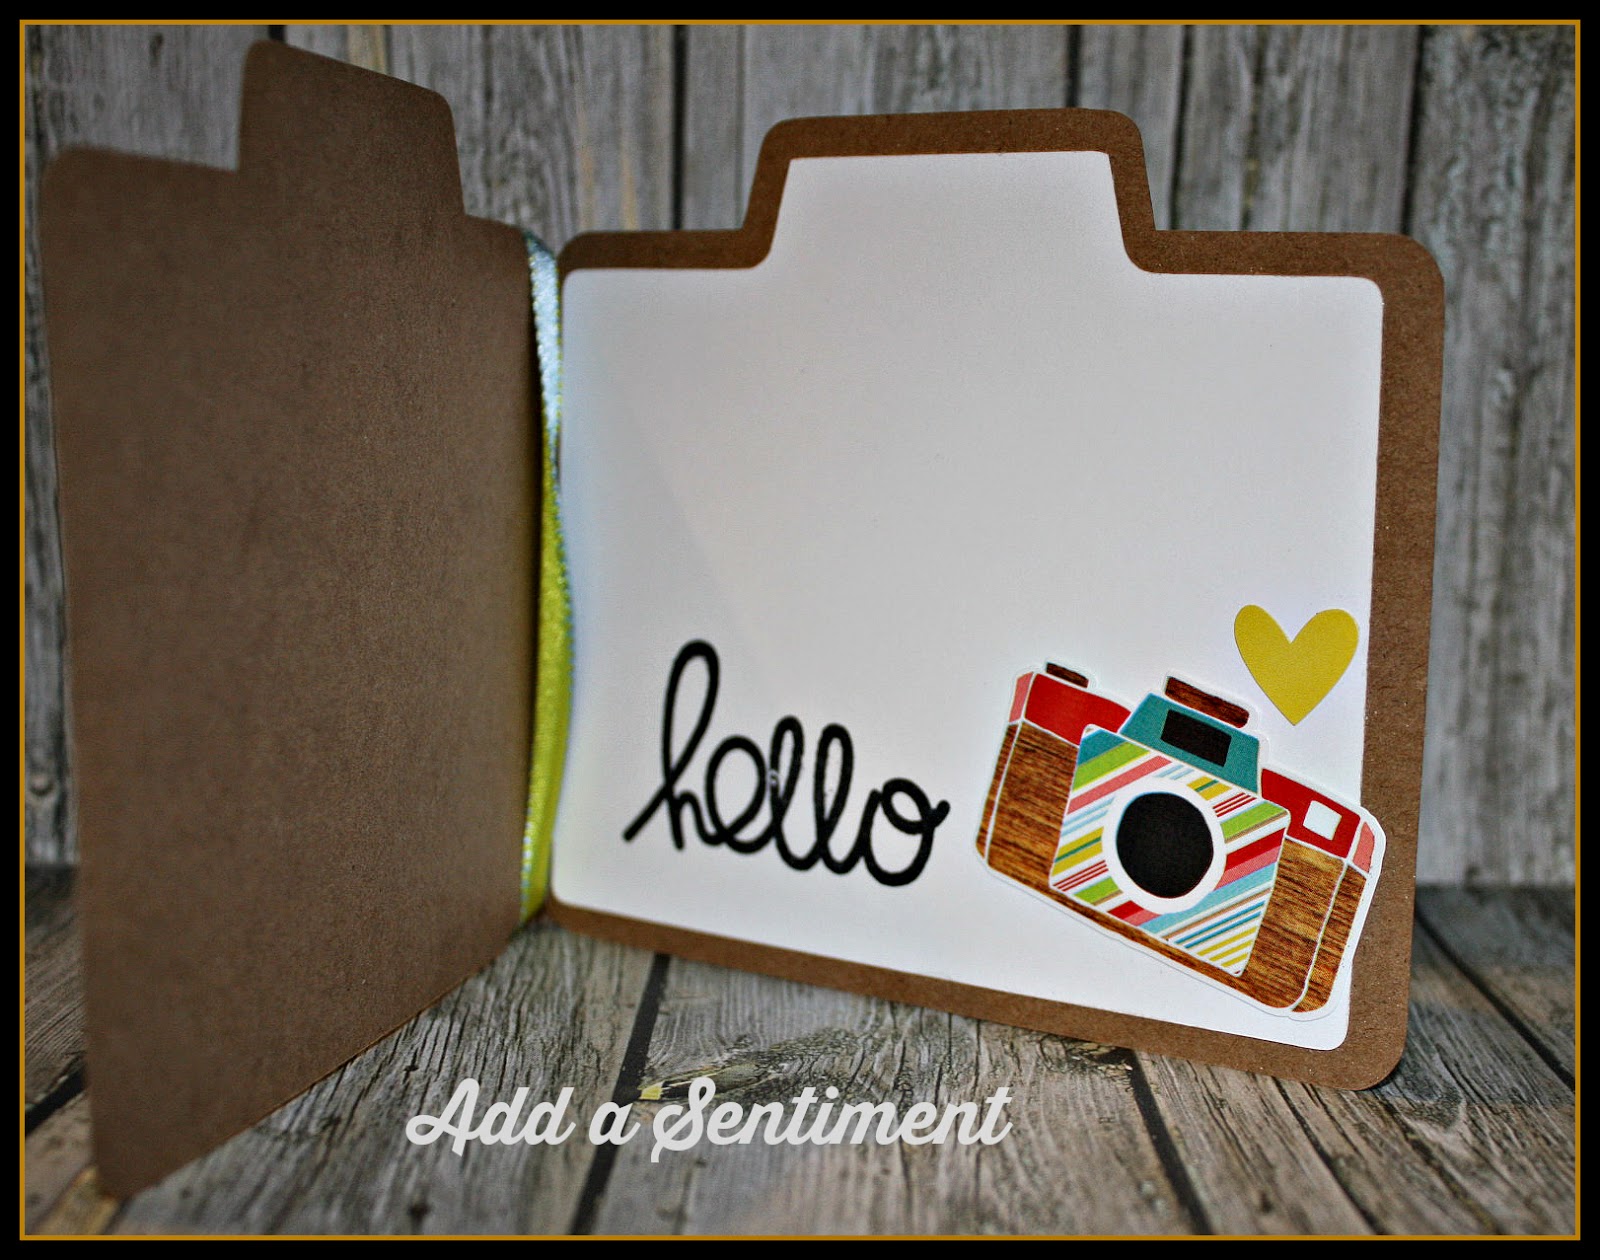
Here the inside of the card with the cute 
Good Day Sunshine Sticker the Collection Comes 
with and I used a Lawn Fawn Sentiment 
Hello! 
Here the back of The Queen Camera Card! 
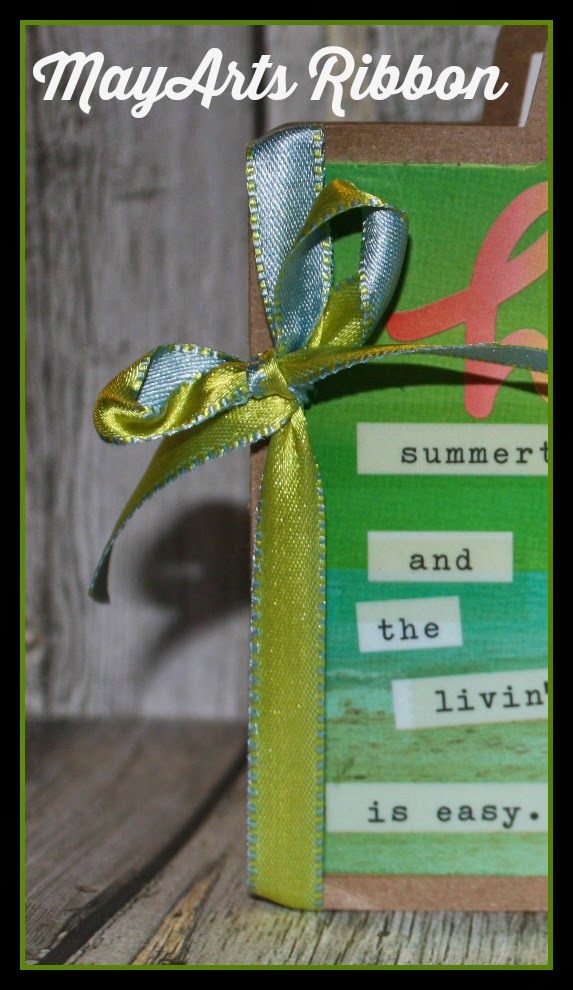
Now don't forget to use some adorable and perfectly matching
May Arts Ribbon .... the double side colors look 
AWESOME! 
Hope you enjoyed your Royal Stop
today would love for you to follow me!
on the Twitter (HERE)
and on my Facebook Page too! (HERE)
Now don't forget to check out the 
other blogs and designer too!
We've got even better news - head on over to the 
Simple Stories blog and the May Arts blog - 
not only do they have some fabulous creations to 
share with you, they are giving away the same prize pack!  
That is three chances to win a box full of
 goodies that will bring your Summer crafting to a whole new level!

Wednesday, July 2, 2014

{Heart} Fox ~ Lawn Fawn & Xyron

Happy Wednesday! Hope everyone is enjoying
all the cuteness from our Xyron  and Lawn Fawn designers!
Today is The Queen turn to show off this cute
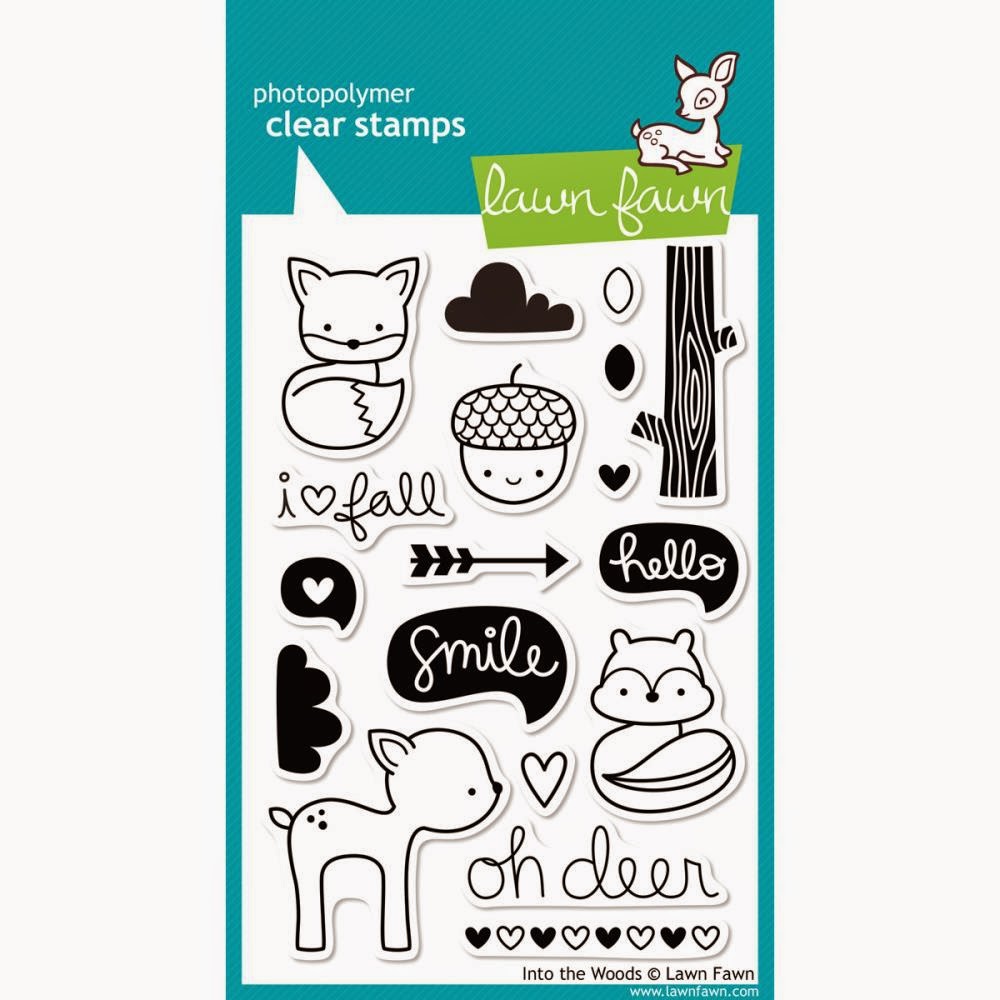
stamp set call Into the woods {HERE}

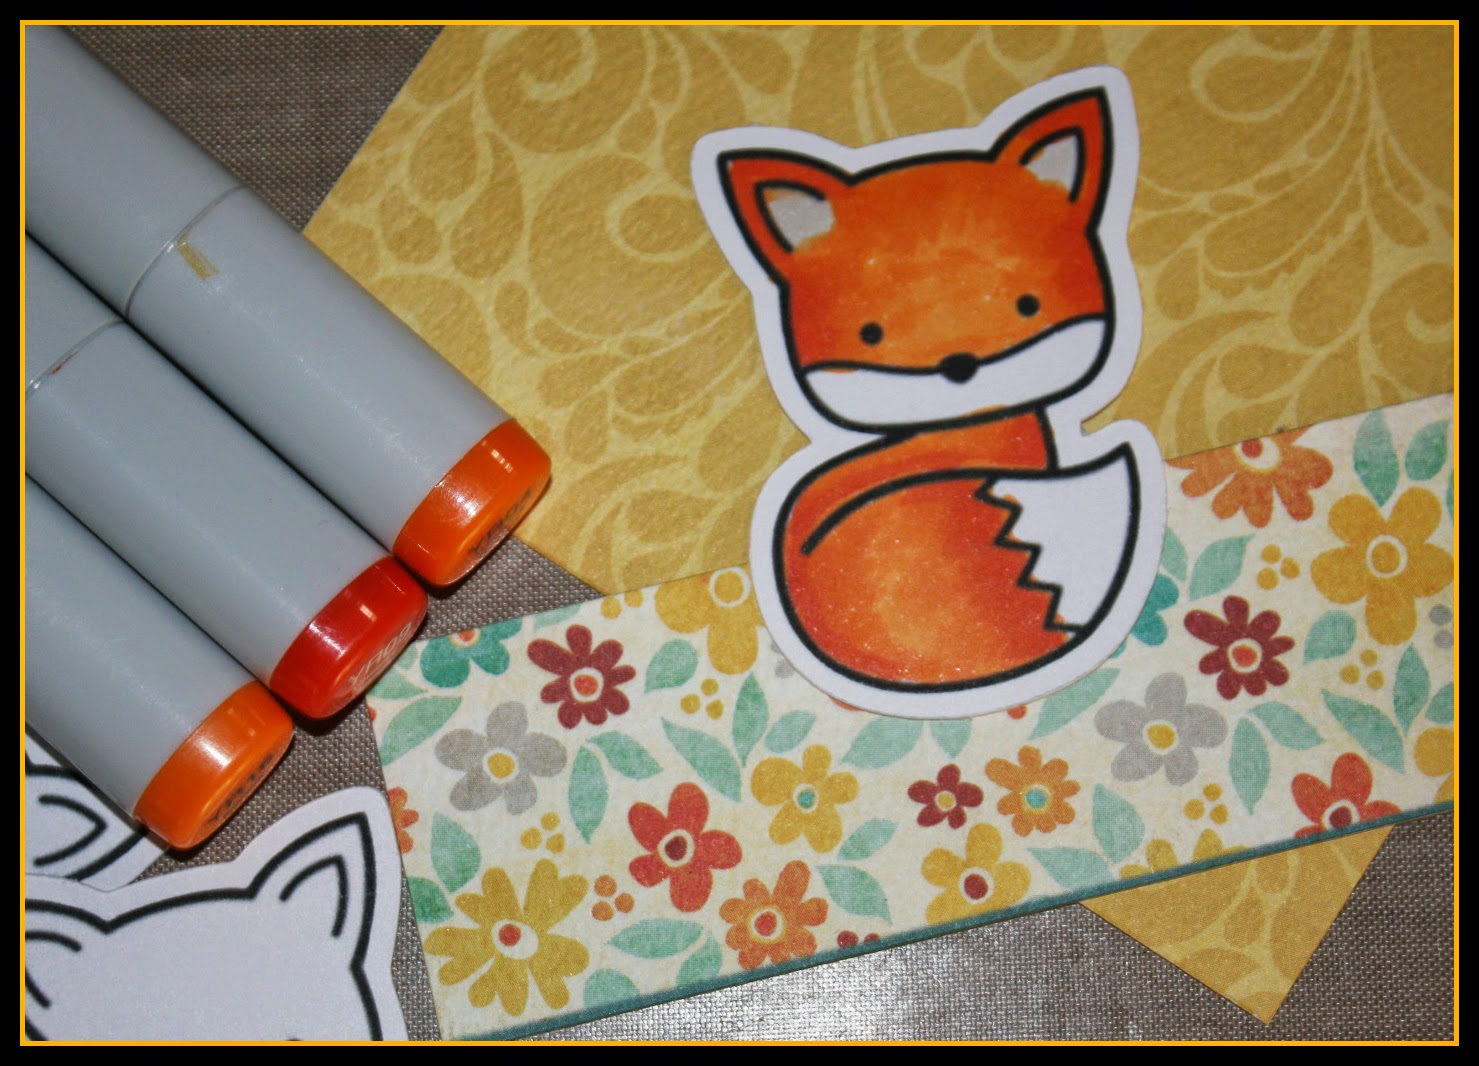
Just colored the cute little fox with copie markers
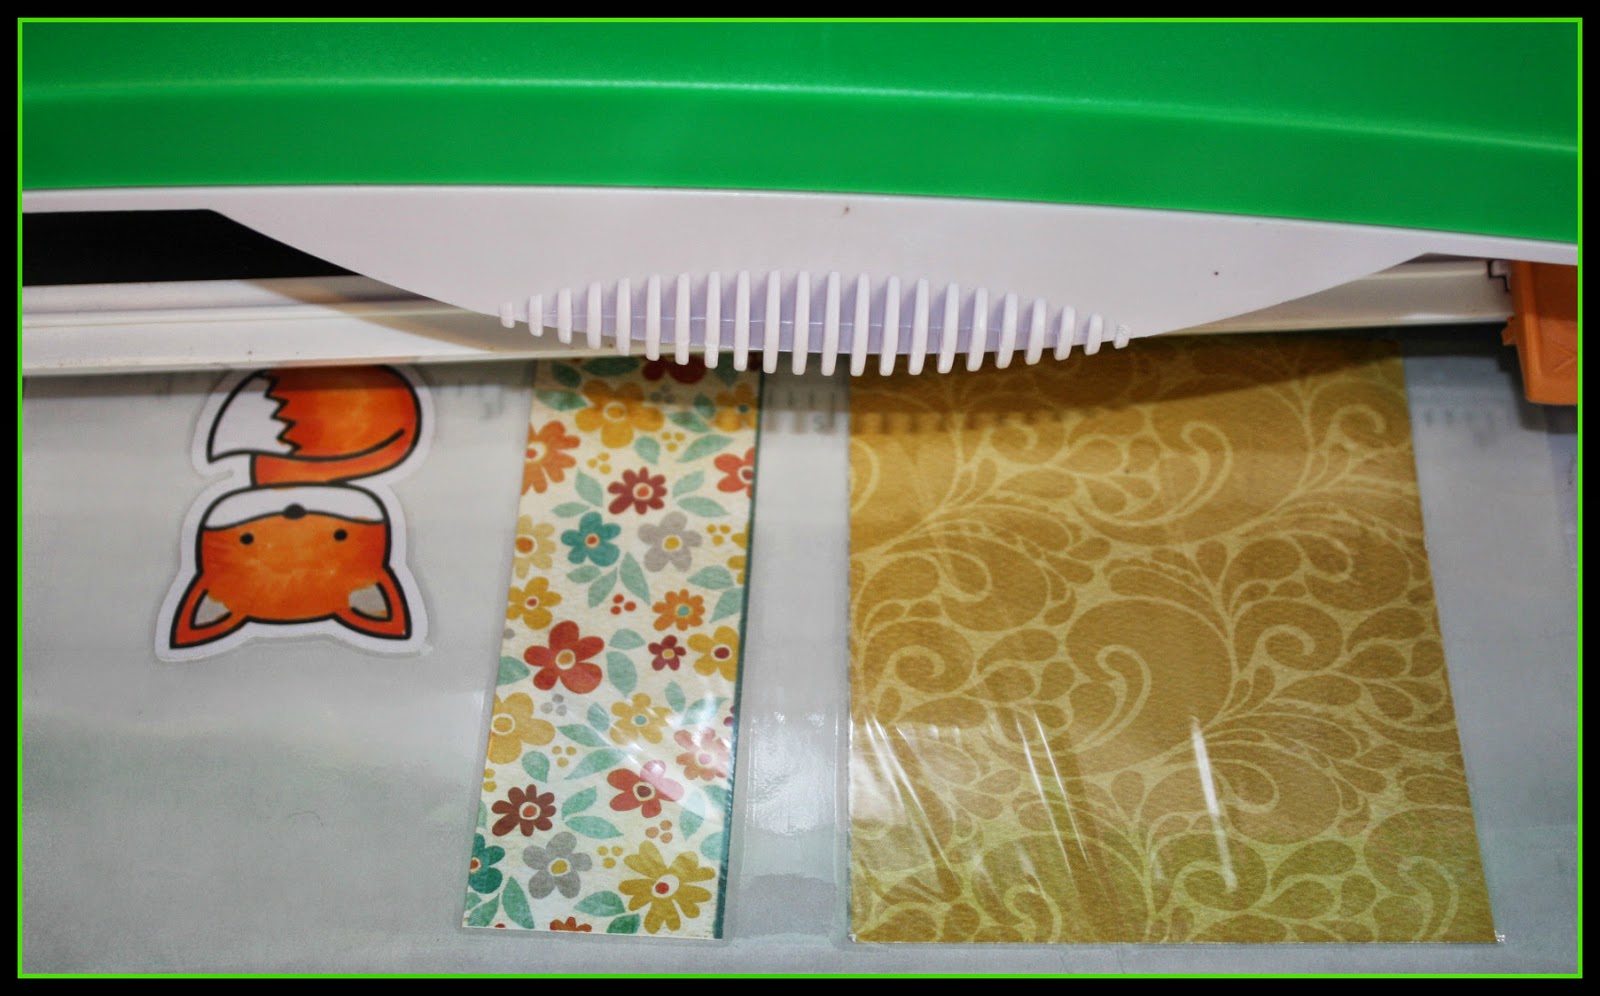
Run all my card stock bases and the cute fox 
through the 9" Creative Center {HERE} 
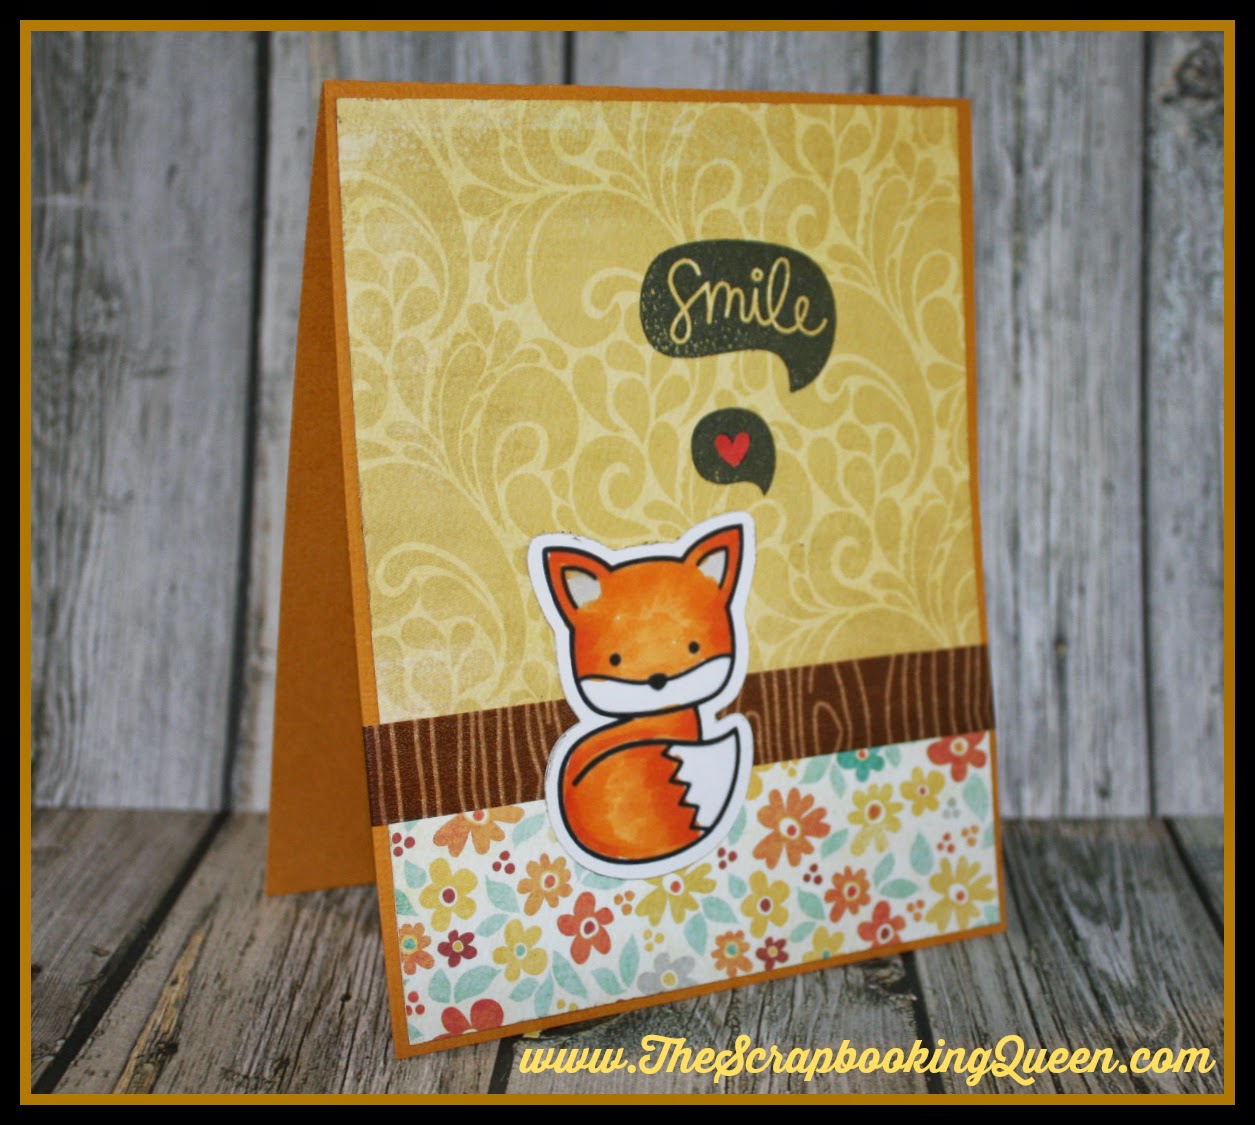
Using the little fox for this CAS card
The Queen used some of her stash from
My Minds Eye! 
Adding some wood grain washi tape just
tied it all together!  
Thanks for stopping by today 
Make sure you go over and like the  Lawn Fawn Facebook 
and don't forget to check out their awesome blog too!

the Lawn Fawn blog

Friday, May 30, 2014

Quick Quote and Xyron

Hello Everyone and Happy Friday!
Today The Queen has a super Quick Quote project
for you using of course my favorite Xyron Products 
and the Quick Quote Collection 
Serendipity 
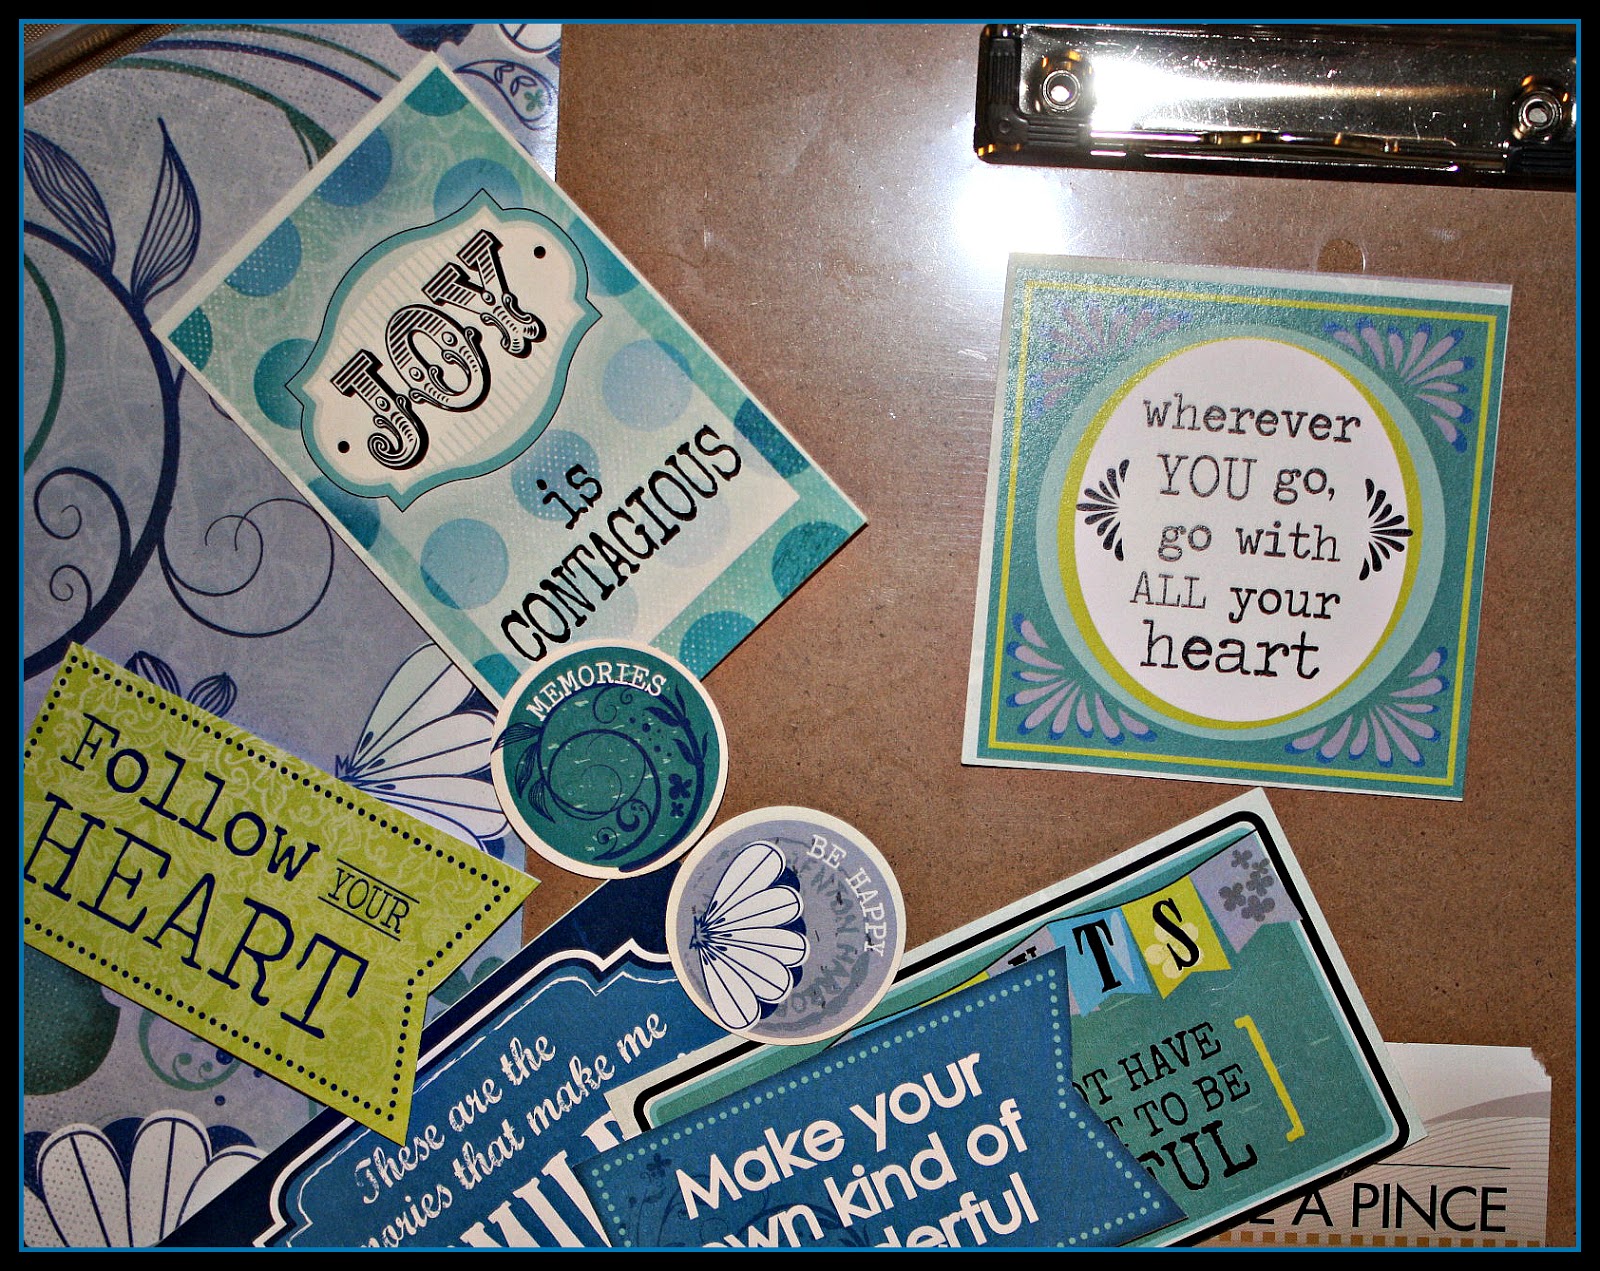
Here what some of the goodness you get in the collection
and a plain old 99 cent clip board.
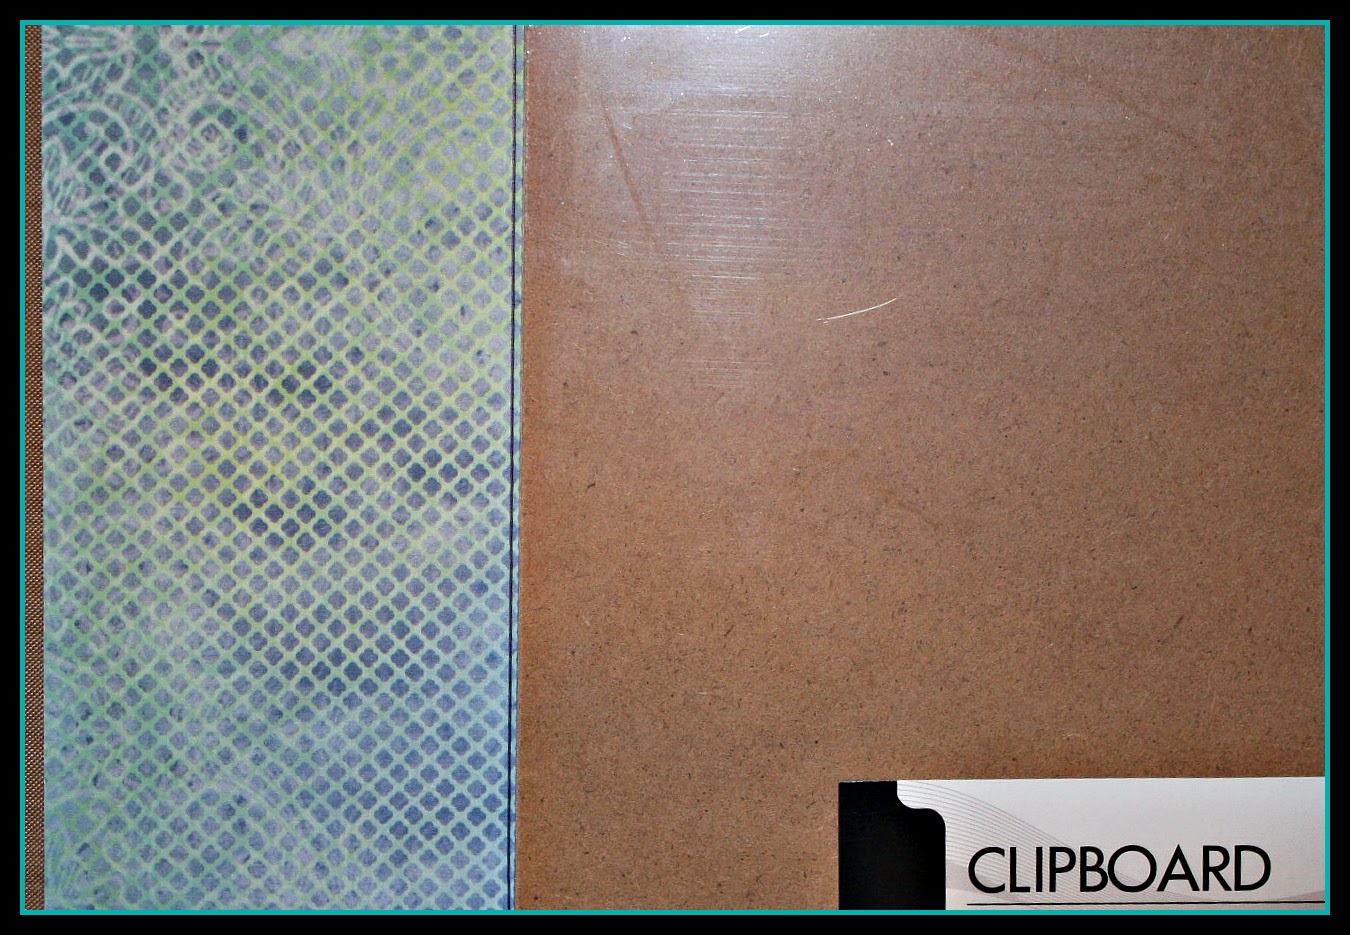
Take one of the Serendipity paper of your choice
{The Queen love plaids} and place your clipboard 
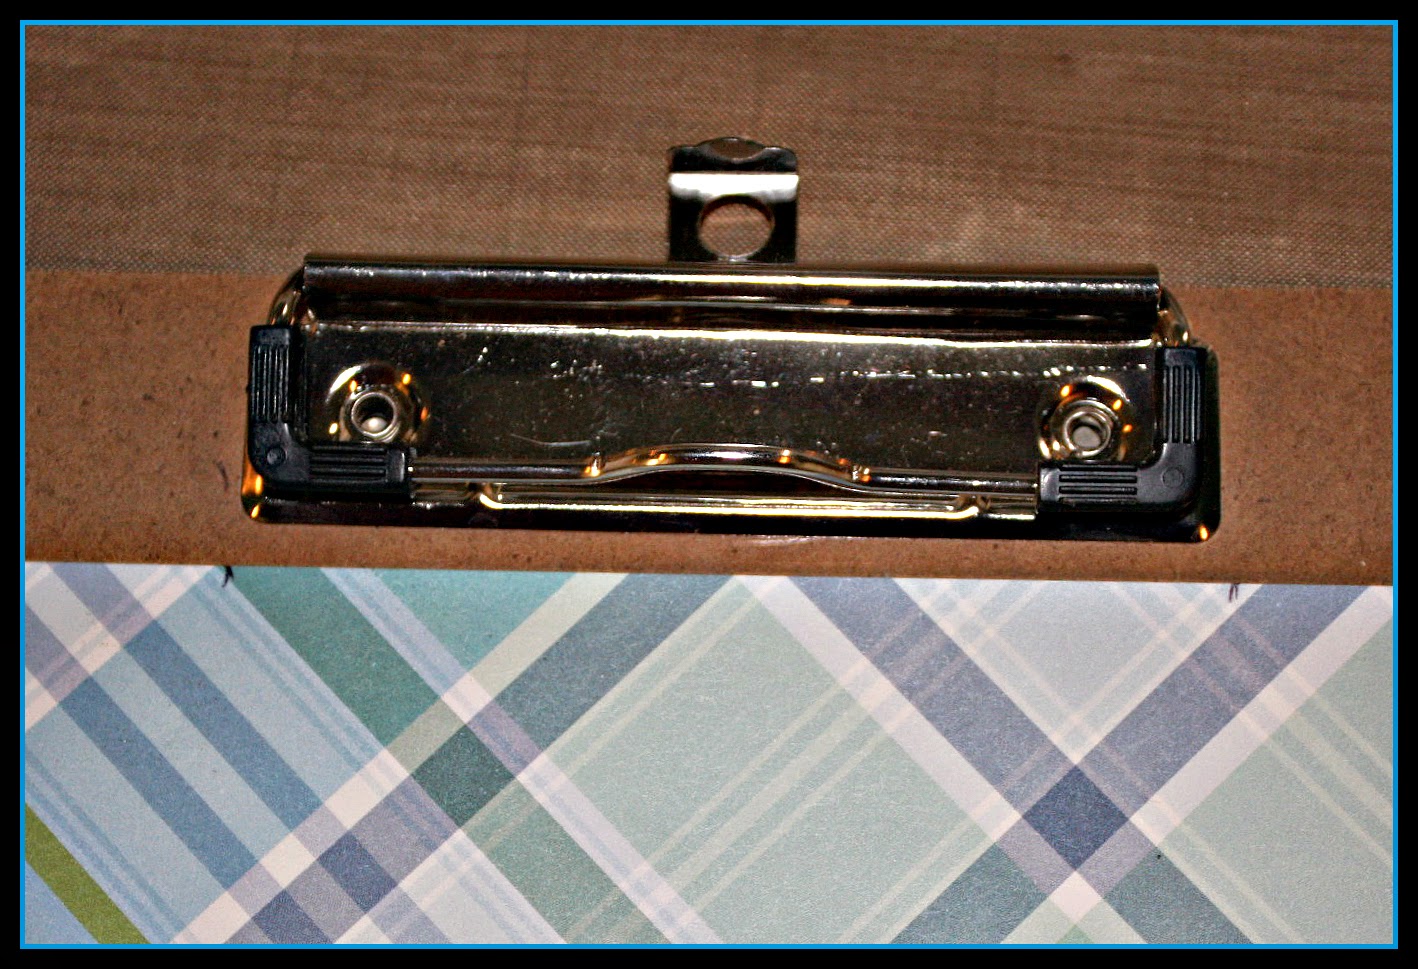
and trace it onto the BACK of your paper choice. 

Now to cut around your metal clipboard snapper thing
you need to line and mark your paper and 
hand cut out this area...


Here how it should look once done a perfect match!


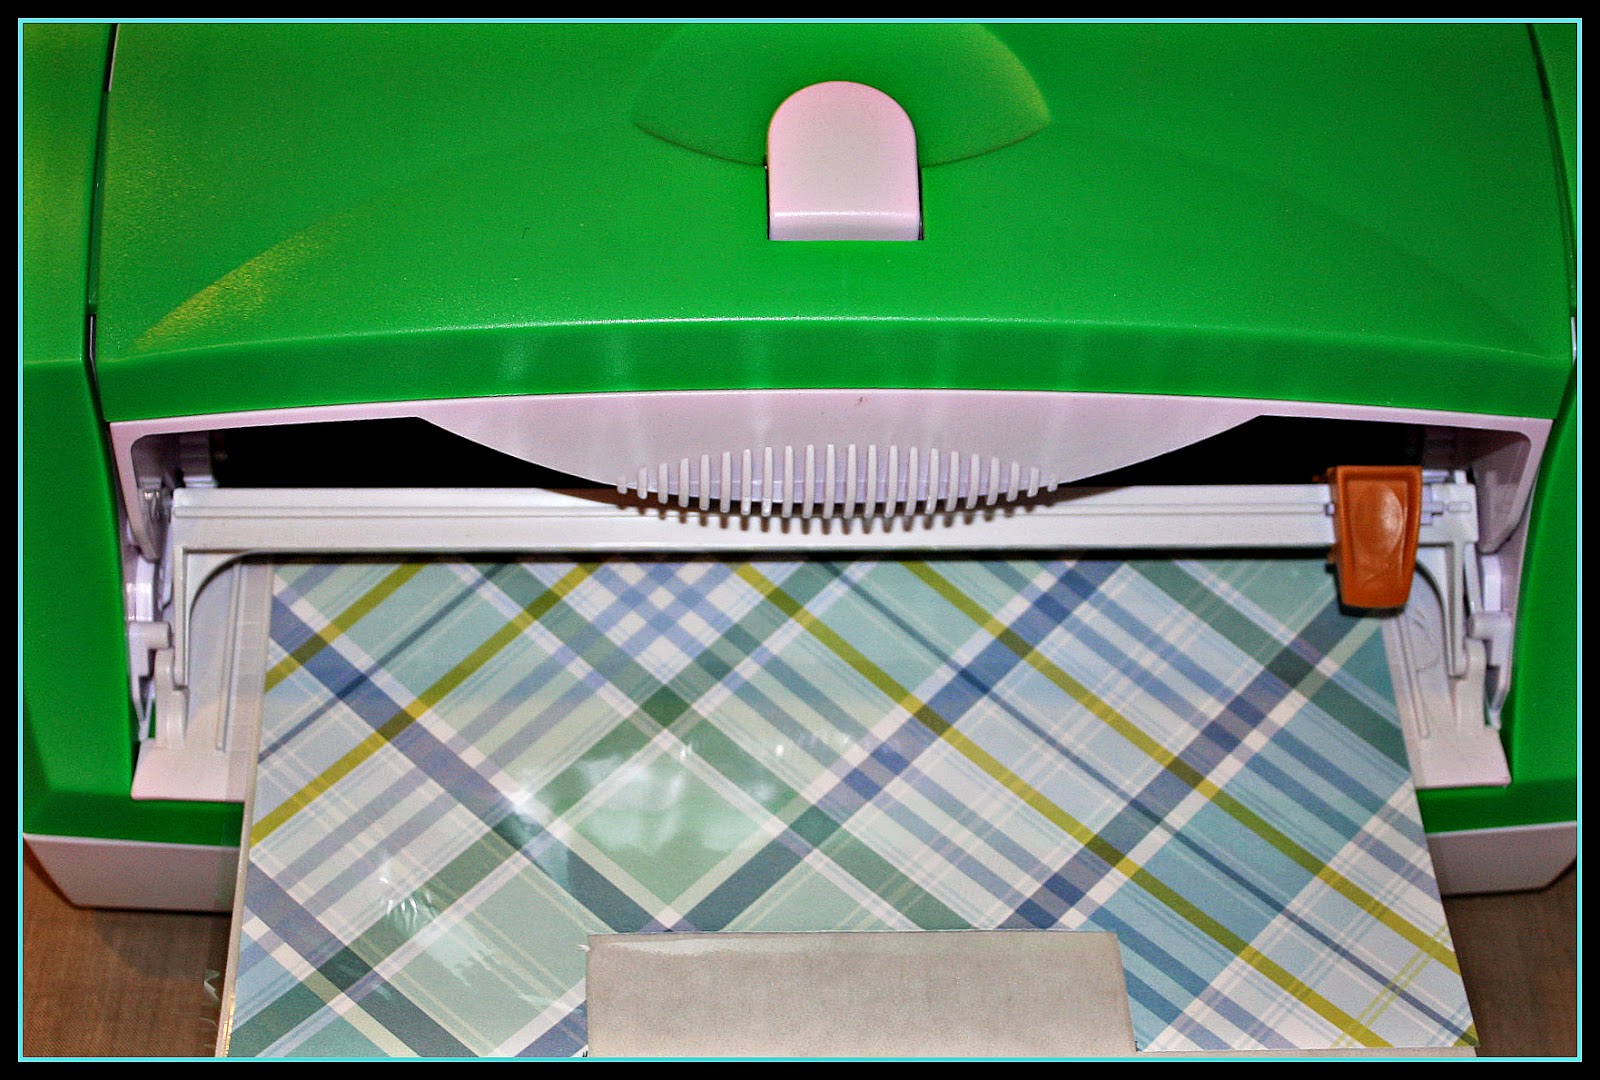
Run your cut out paper piece through your 
9" Creative Station  it's a perfect fit


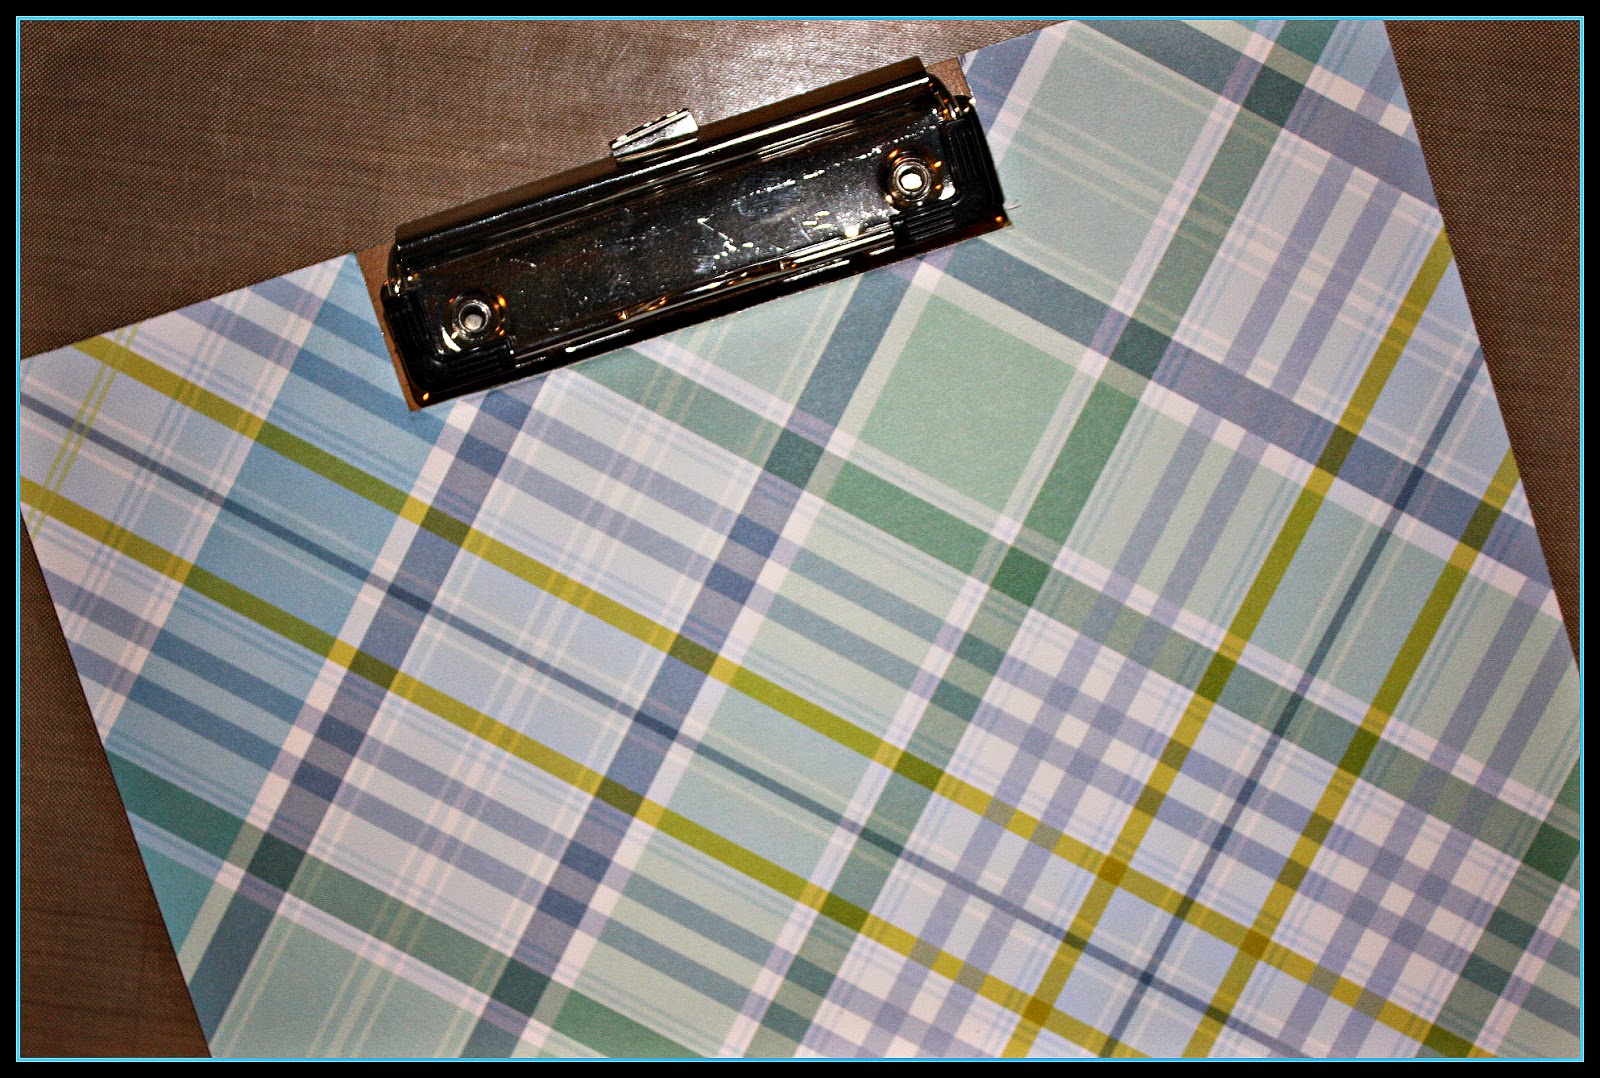
Place you now adhesive back paper piece onto 
your clipboard and press it down..
I know it's that easy !


Now all those adorable Quick Quotes Pieces can be
run through your 3" Sticker Maker 


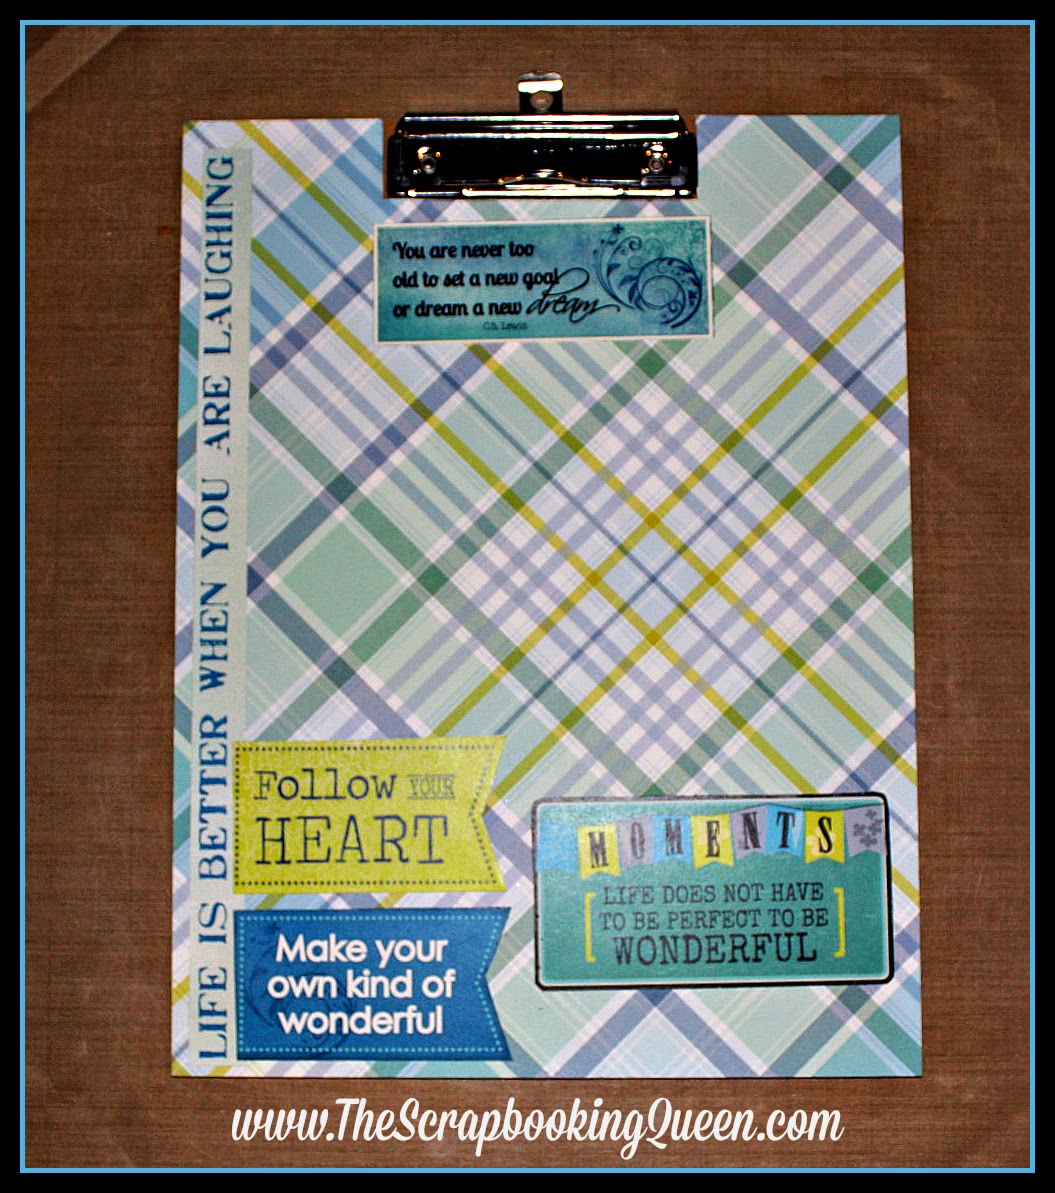
Now for you finished project just place your favorite Quick Quote
on your clipboard to create this inspiring decorated project.


Told you it was an easy and quick project made
super easy to do with Xyron Products
and some inspiring Quick Quote Serendipity 
go over and LIKE us on Xyron Facebook Page {HERE}
and make sure you follow Quick Quotes {HERE}

Monday, May 12, 2014

Out on a limb Scrapbooking & Xyron Week

Happy Monday and Welcome

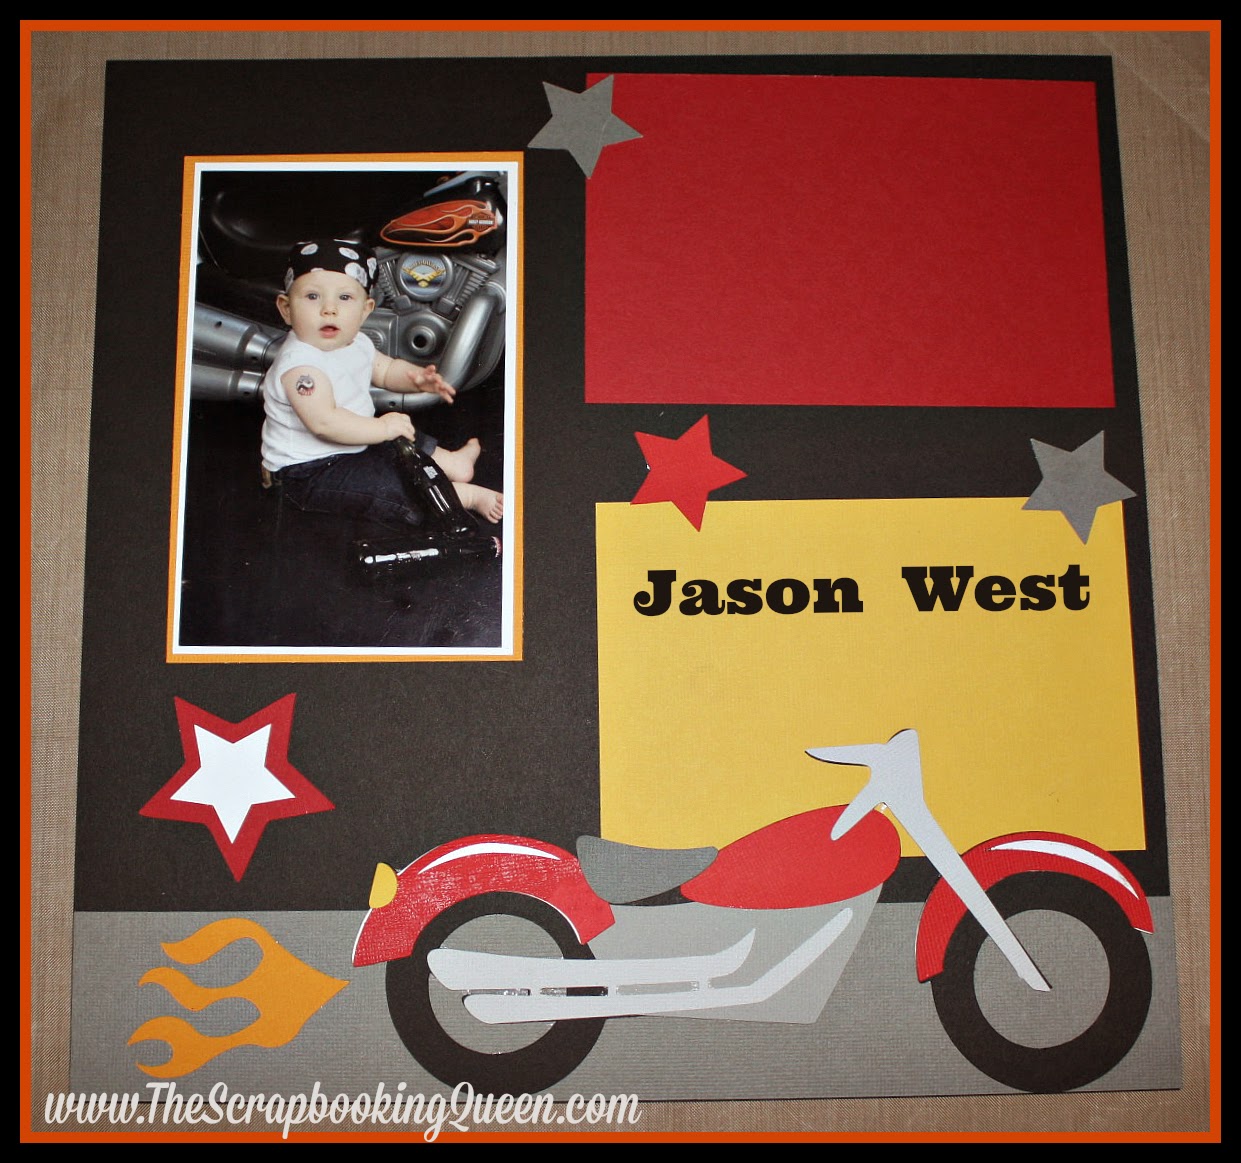
Today The Scrapbooking Queen put together this adorable 
and it was easy peasy with my Xyron Create a Center!

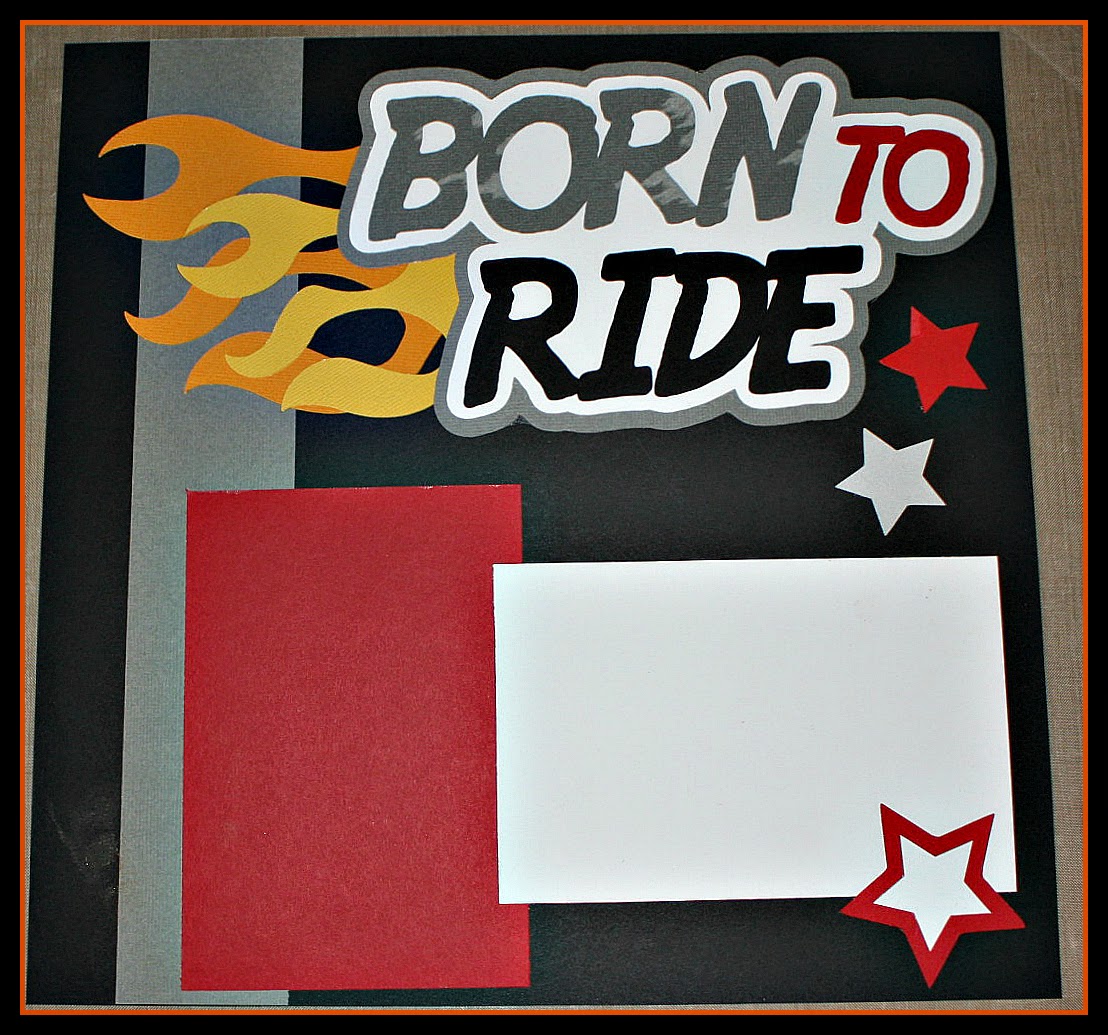
The pre-cut kits from Out on a Limb Scrapbooking are
so easy to do since all the cutting is done for you!
That right it comes pre-cut and ready to put together!
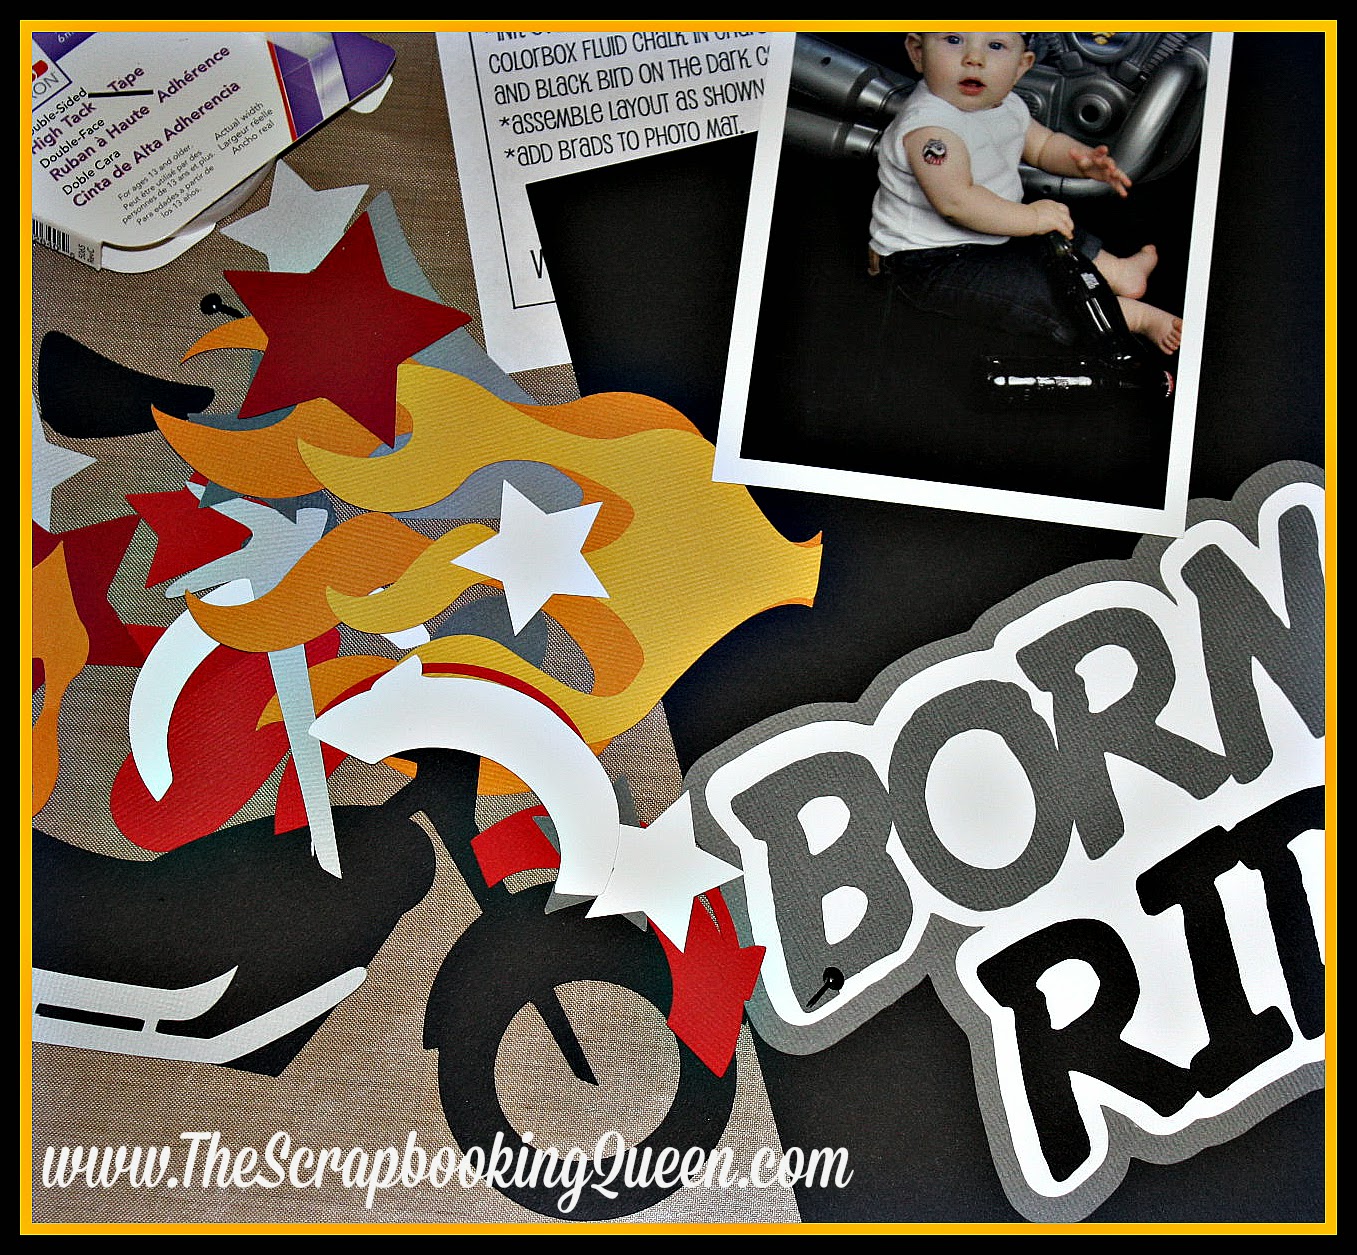
This is what my kit looked like before  
(minus the cute photo of my grandson Jason West)


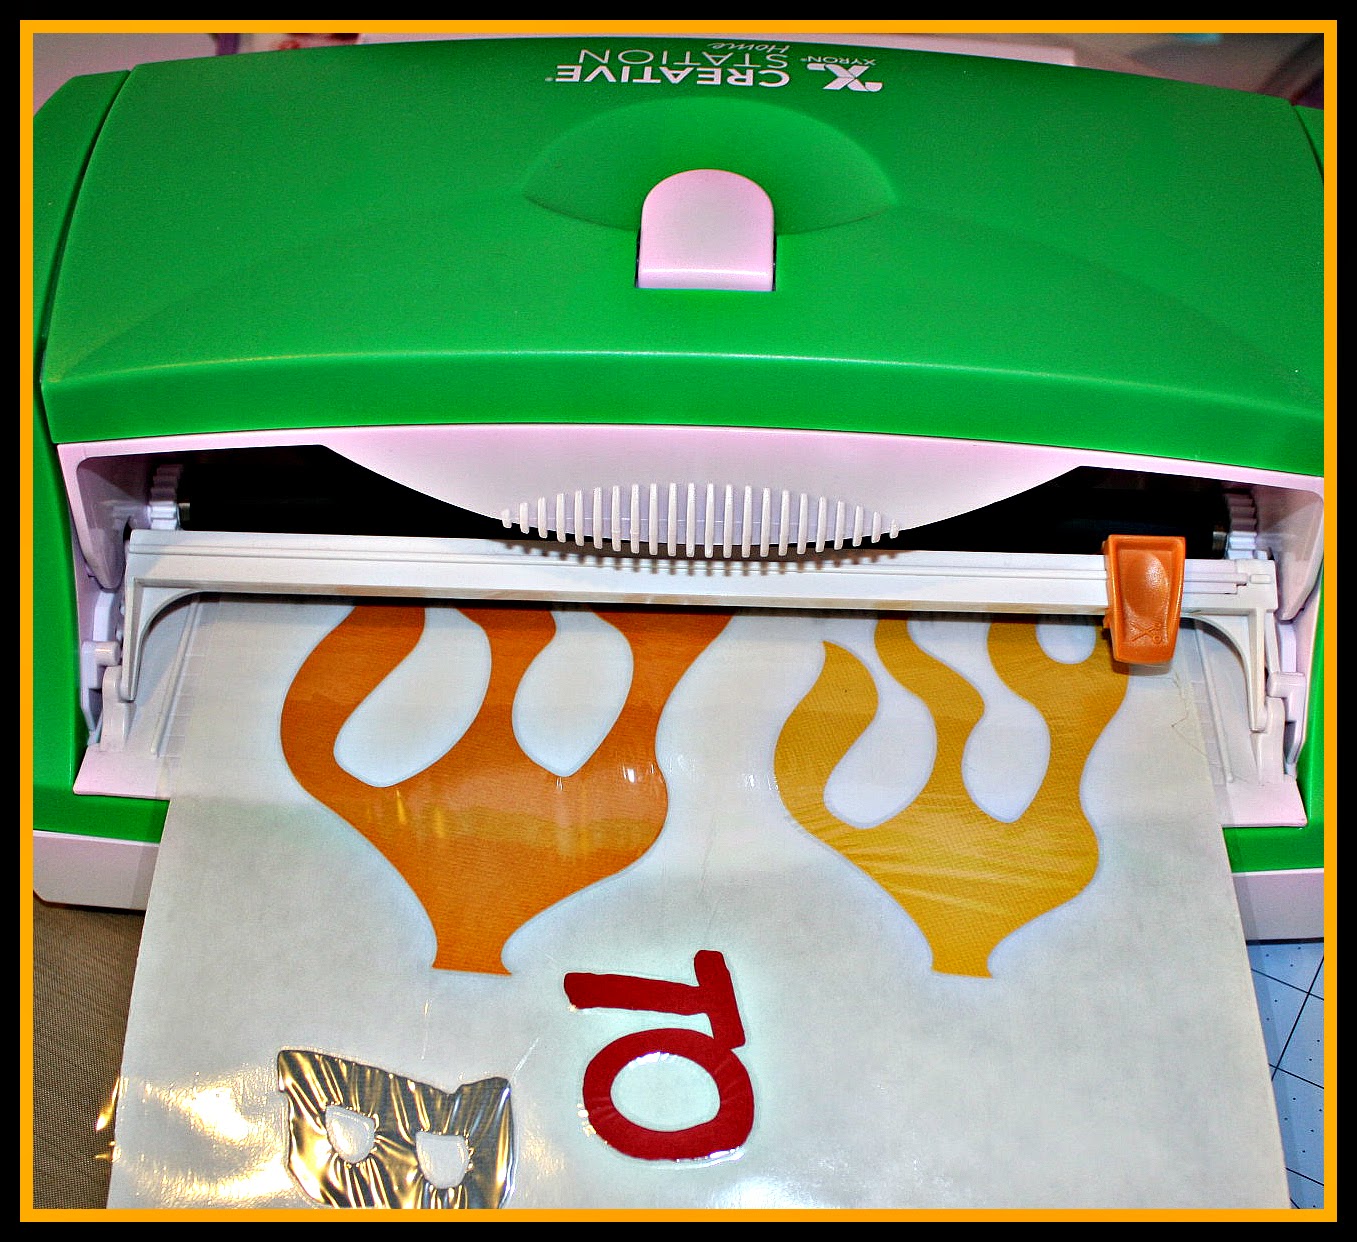
Here is my Xyron Creative Center in play!
I just ran all the pieces through and it created
adhesive backed pieces all ready to put down on
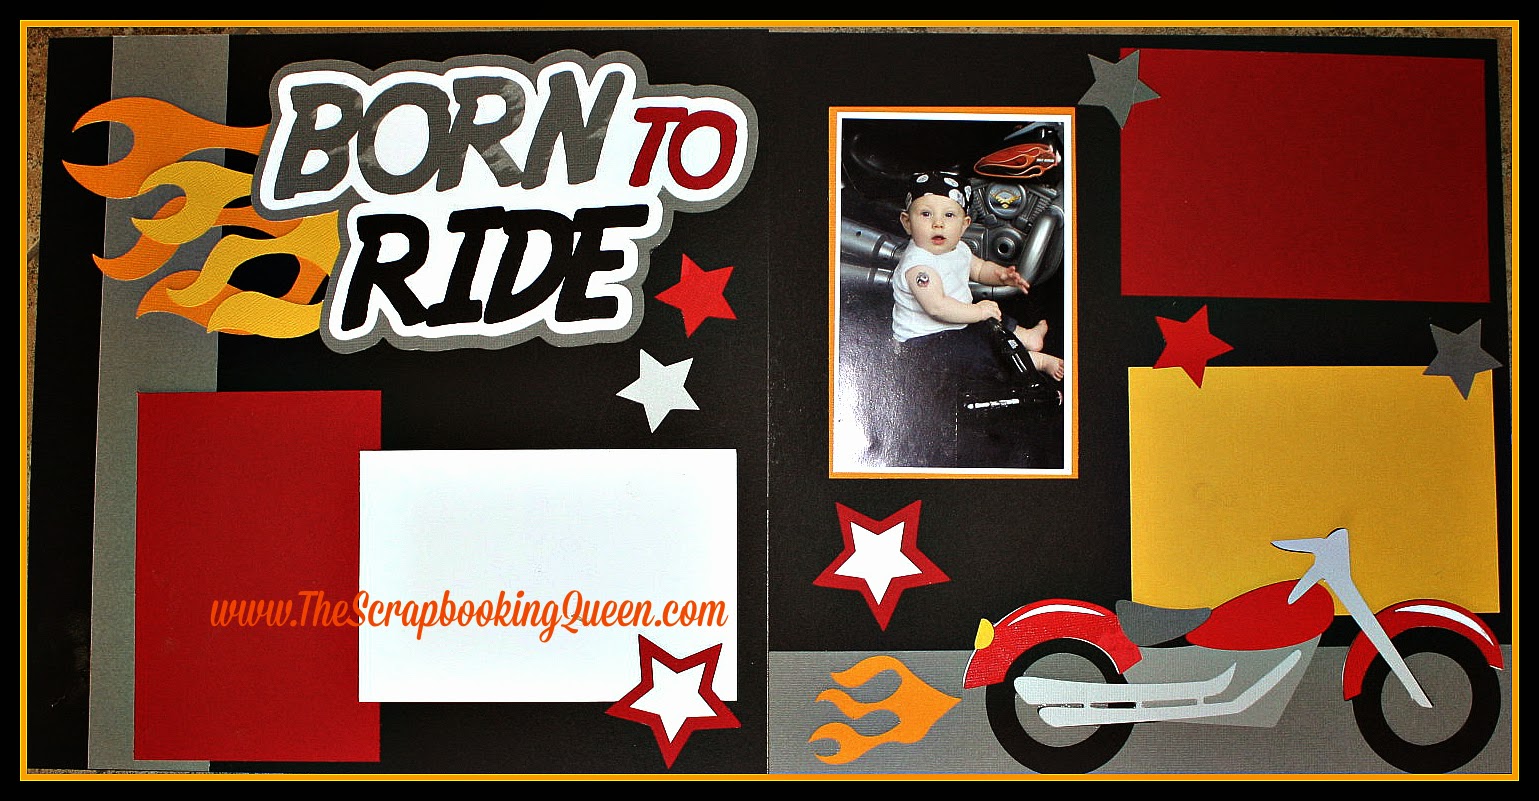
my Born to Ride layout!


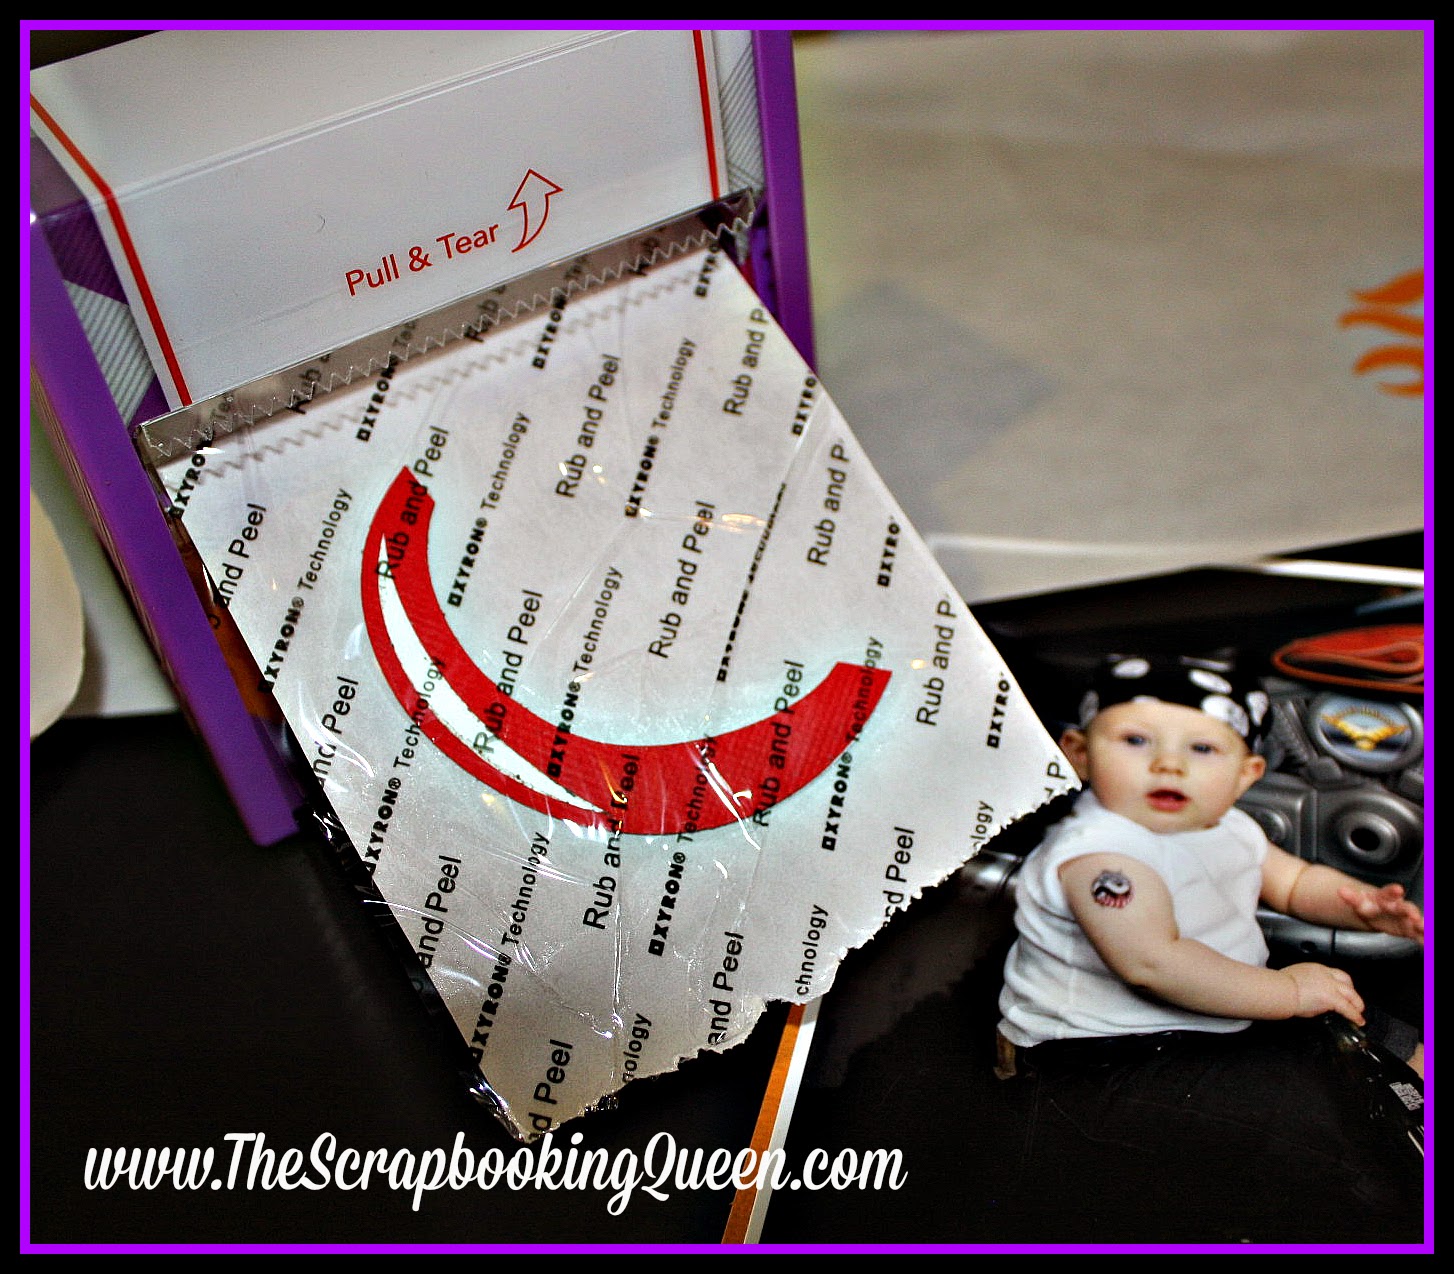
Here The Queen used her 3" Sticker maker for smaller 
detail pieces, so quick and easy! I telling you it make
assembling any pre-cut pieces or your own SVG cuts.


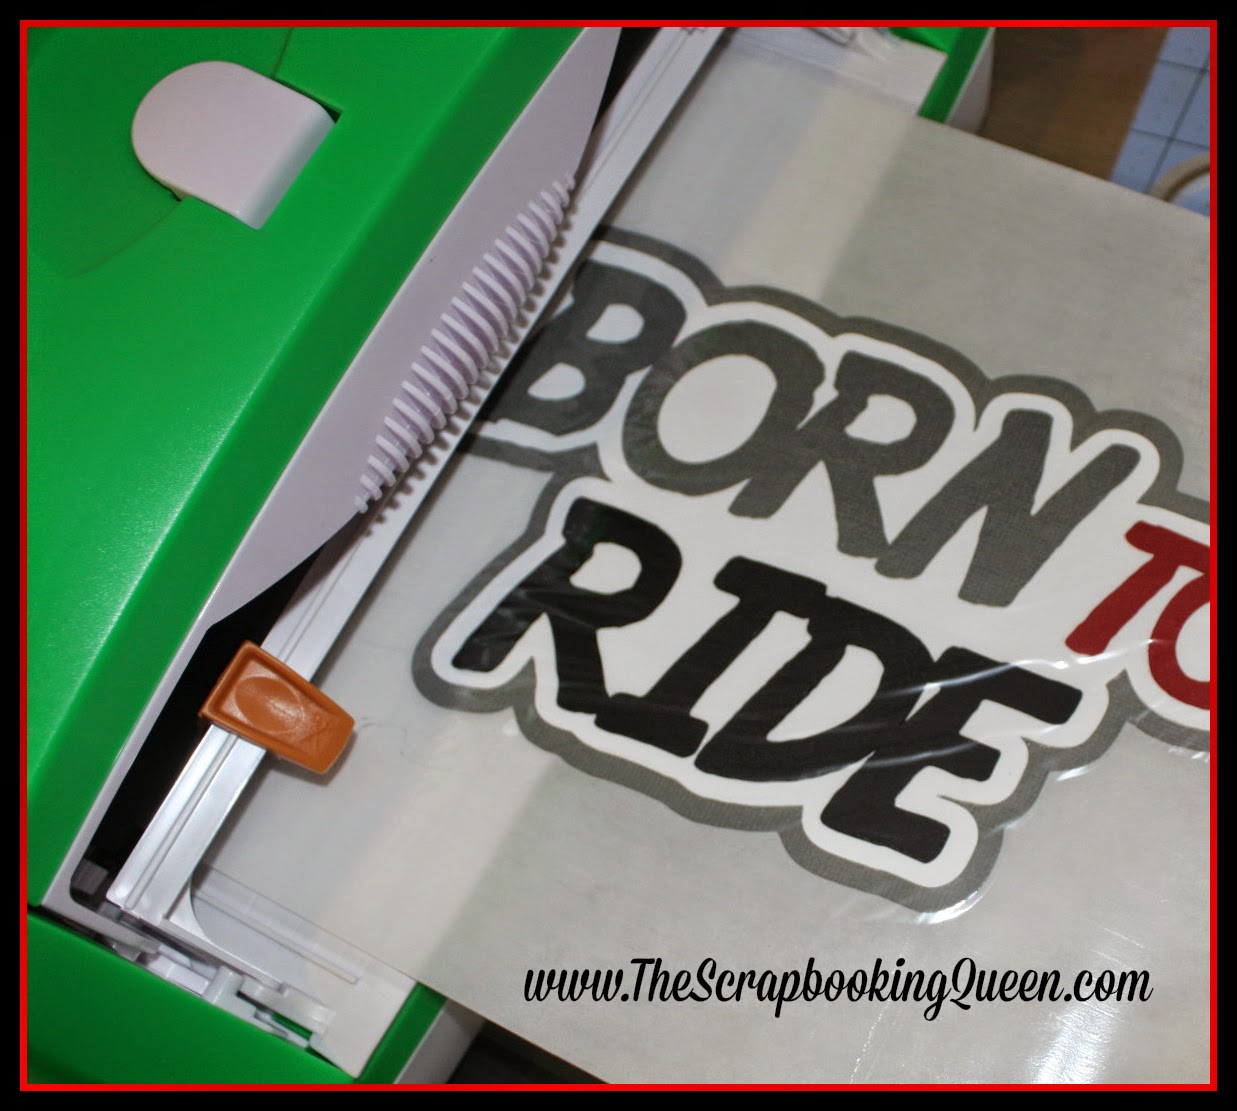
The Creative Center can also handle the thicker 
assembled pieces too ~ just run them through once
you put them together ...
Here is the title piece 3 paper layers thick!


Here is a closer look at the two layouts


Now Out on a Limb Scrapbooking & Xyron have
some giveaways for following each of the designer
blogs.. make sure you head over and follow the rules
Miss Kate Cuttables  and Xyron  for your 
chance to win some awesome prizes!
Follow my blog via email 


Saturday, May 10, 2014

Mother's Day Box

Hello and Happy Saturday!
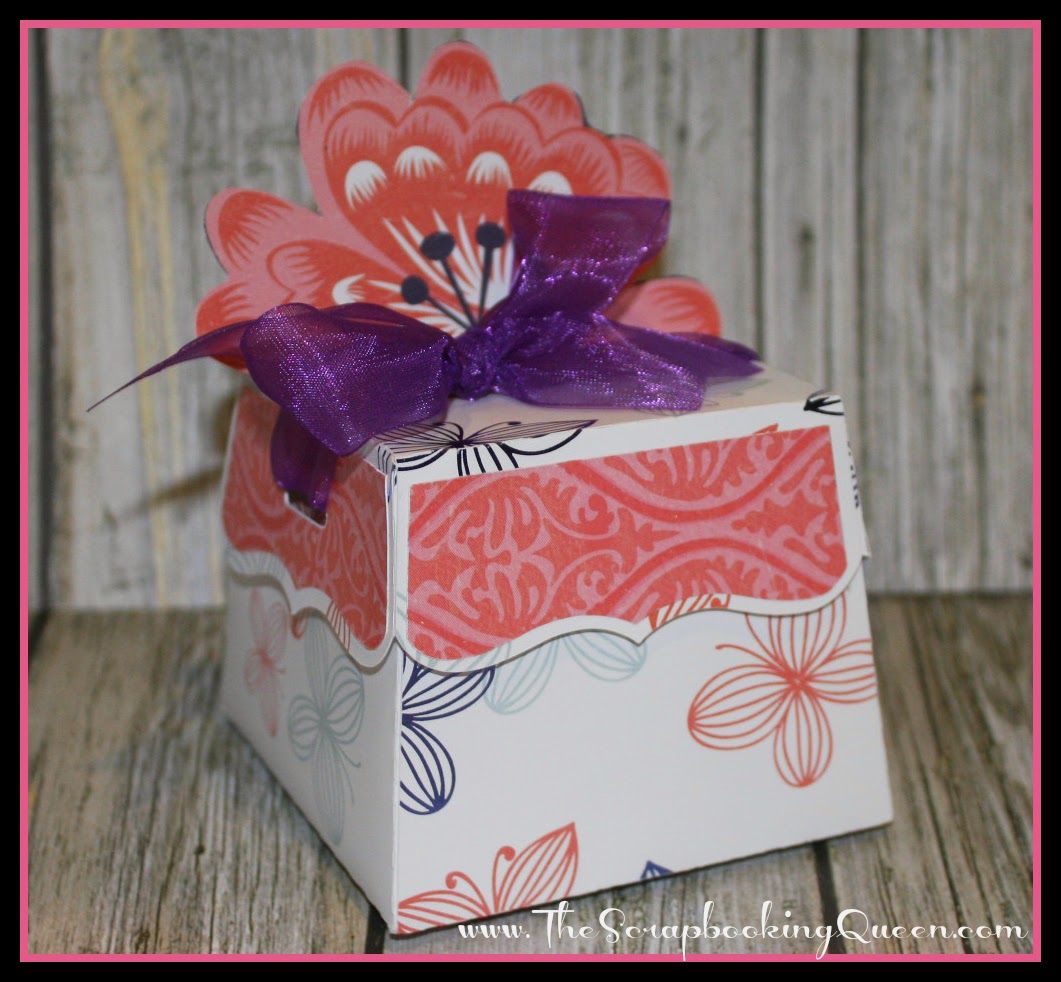
Today The Queen create a quick cute box
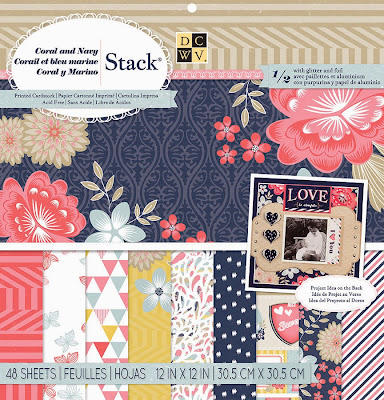
using a DCWV paper stack with beautiful
Coral & Navy designer papers (HERE)

Here how you can make your own treat box.
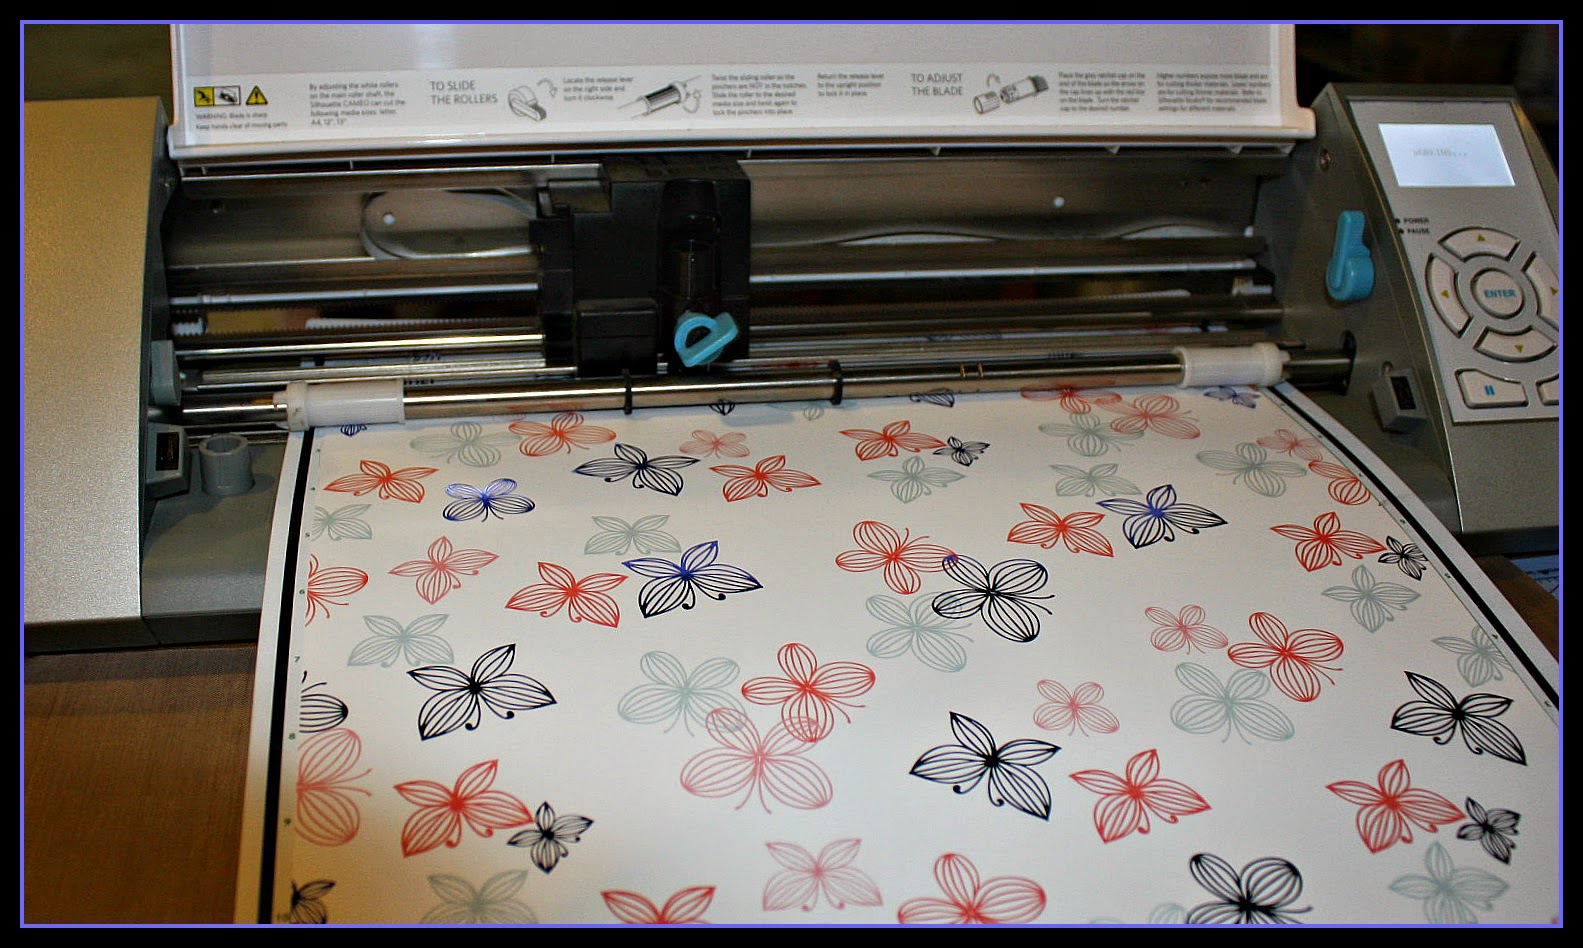
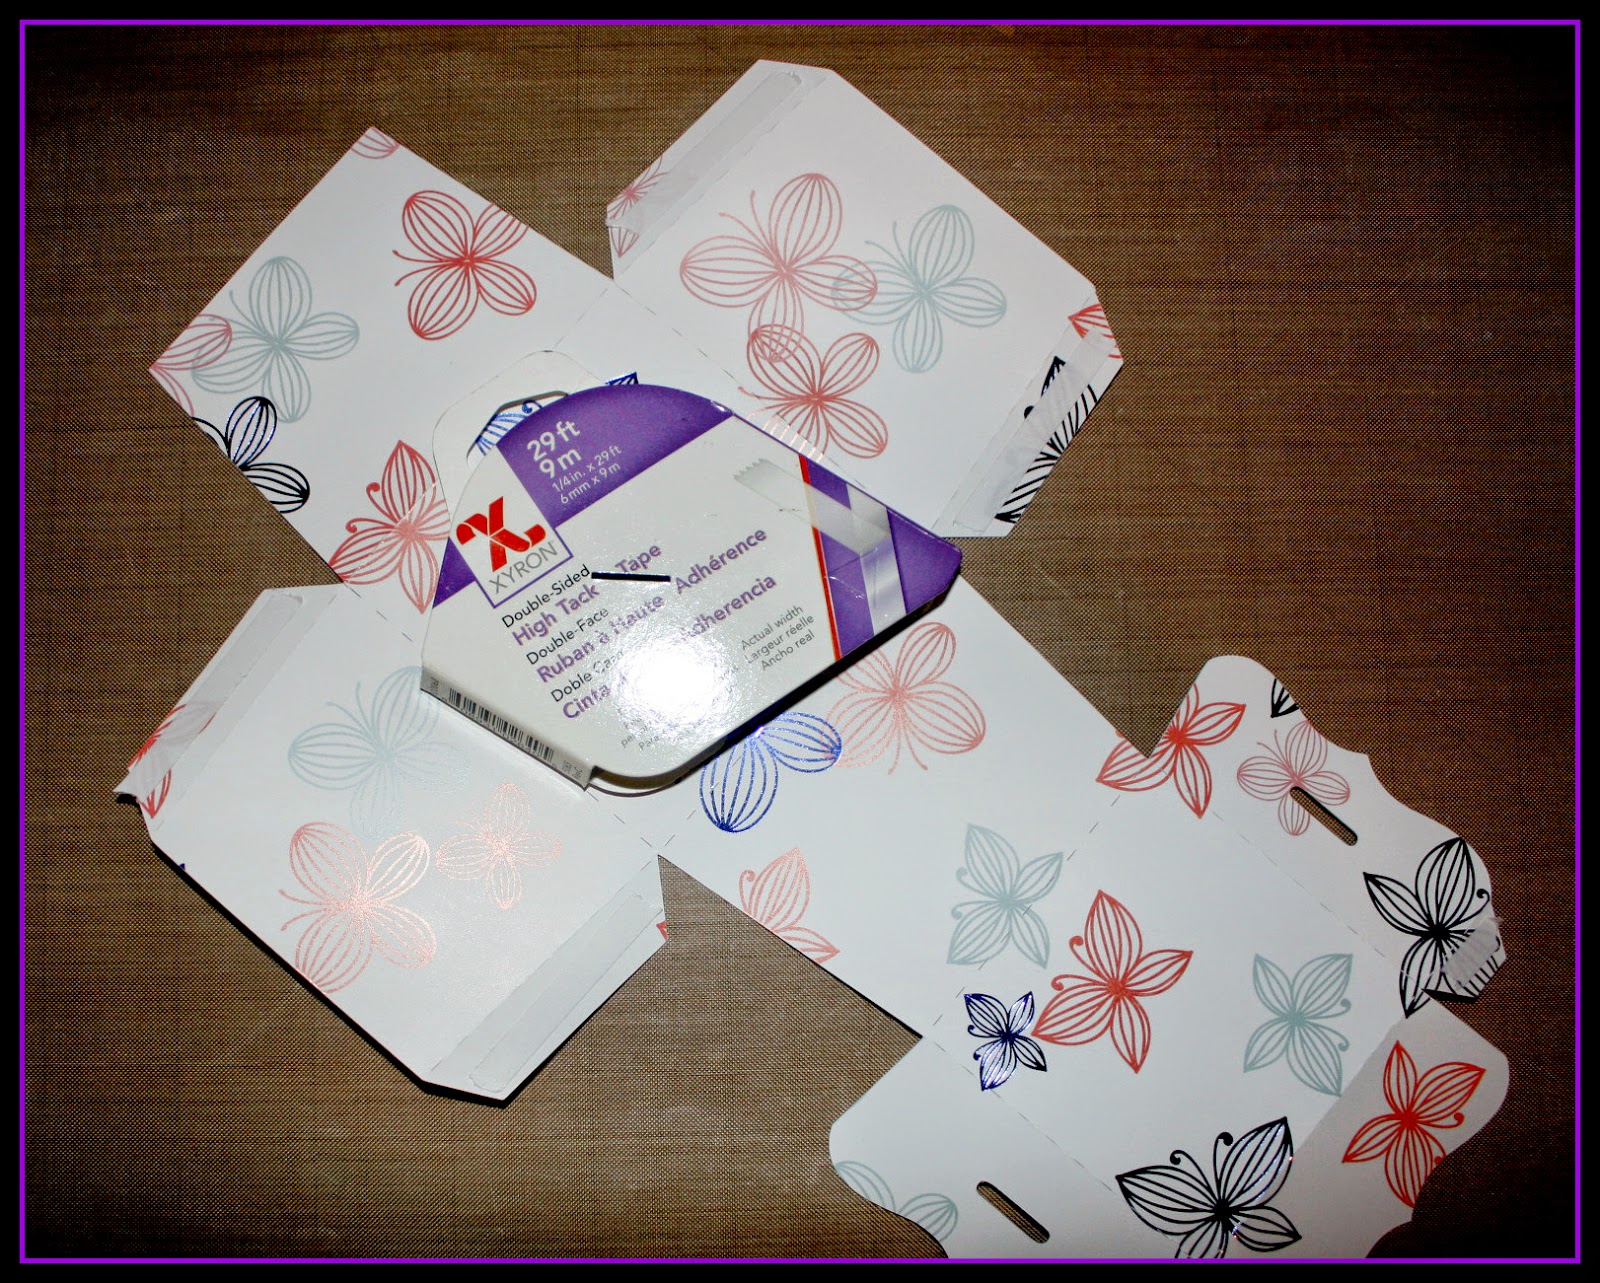
First off The Queen chose the designer paper with
the embossed foil butterflies. Ran it through
the Silhouette Cameo  using simply adorable file by 
Lori Whitlock called 3-D Bracket Lid Box (HERE)

Once you gotten your box base cute out you need 
to use Xyron's Heavy Tack Tape (HERE) this tape is super
for holding together the edges of the box.
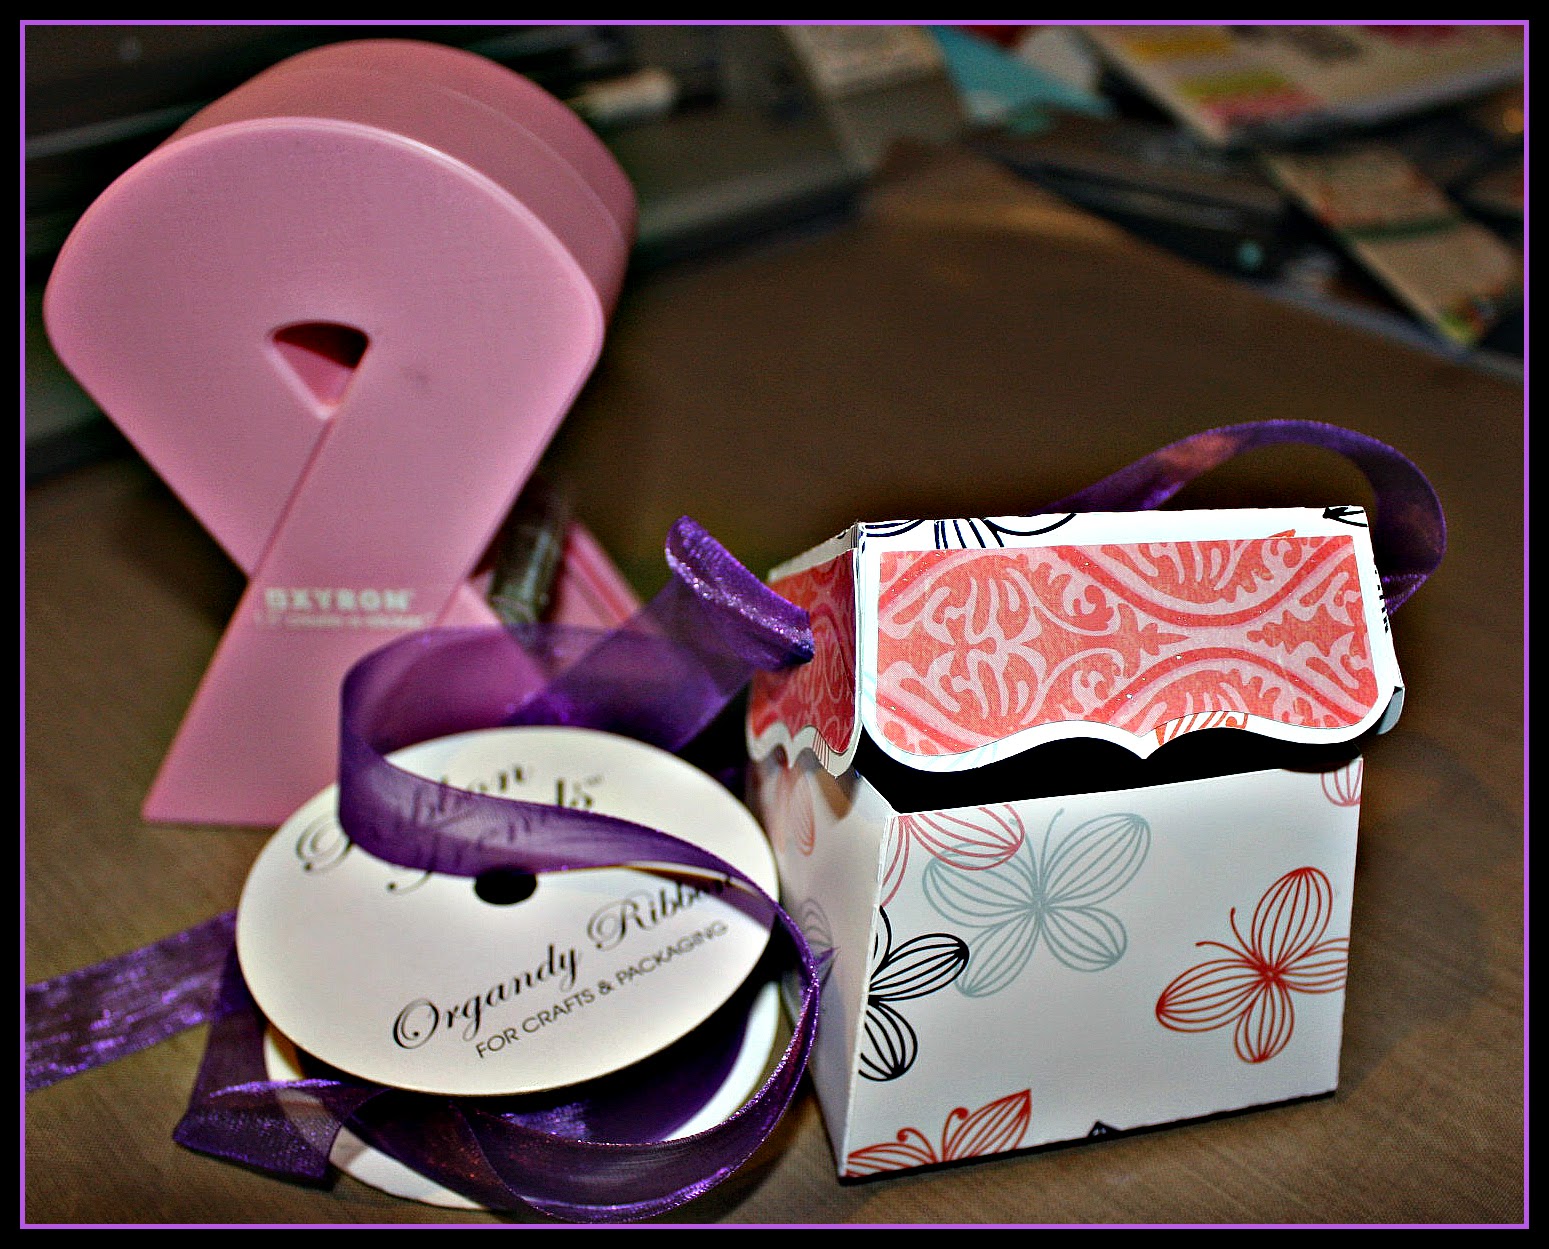
Once your box is assembled you can run the accent 
DCWV paper through your Xyron 1 1/2 Sticker Maker
The Queen adores her PINK Xyron one and now the 
have a purple one too >>> (HERE) 
Purple Accent ribbon ties the whole box together and
The Queen cut out one of flowers and pop it on top
with a Xyron 3/16 Glue Dot >>> (HERE)  
Here you go one really quick and easy box to fill
with a treat for someone special, The Queen filled hers
with bath salts and gave it to the KING who gave it to his mother
 for Mother's Day! He scored a  nice HUG from his MUM!
The Queen sure make the King look good!

Monday, April 28, 2014

Paper Smooches & Xyron

Today the Xyron Team & Paper Smooches has
a cute blog hop for you! Make sure you start
at our main blog (HERE)

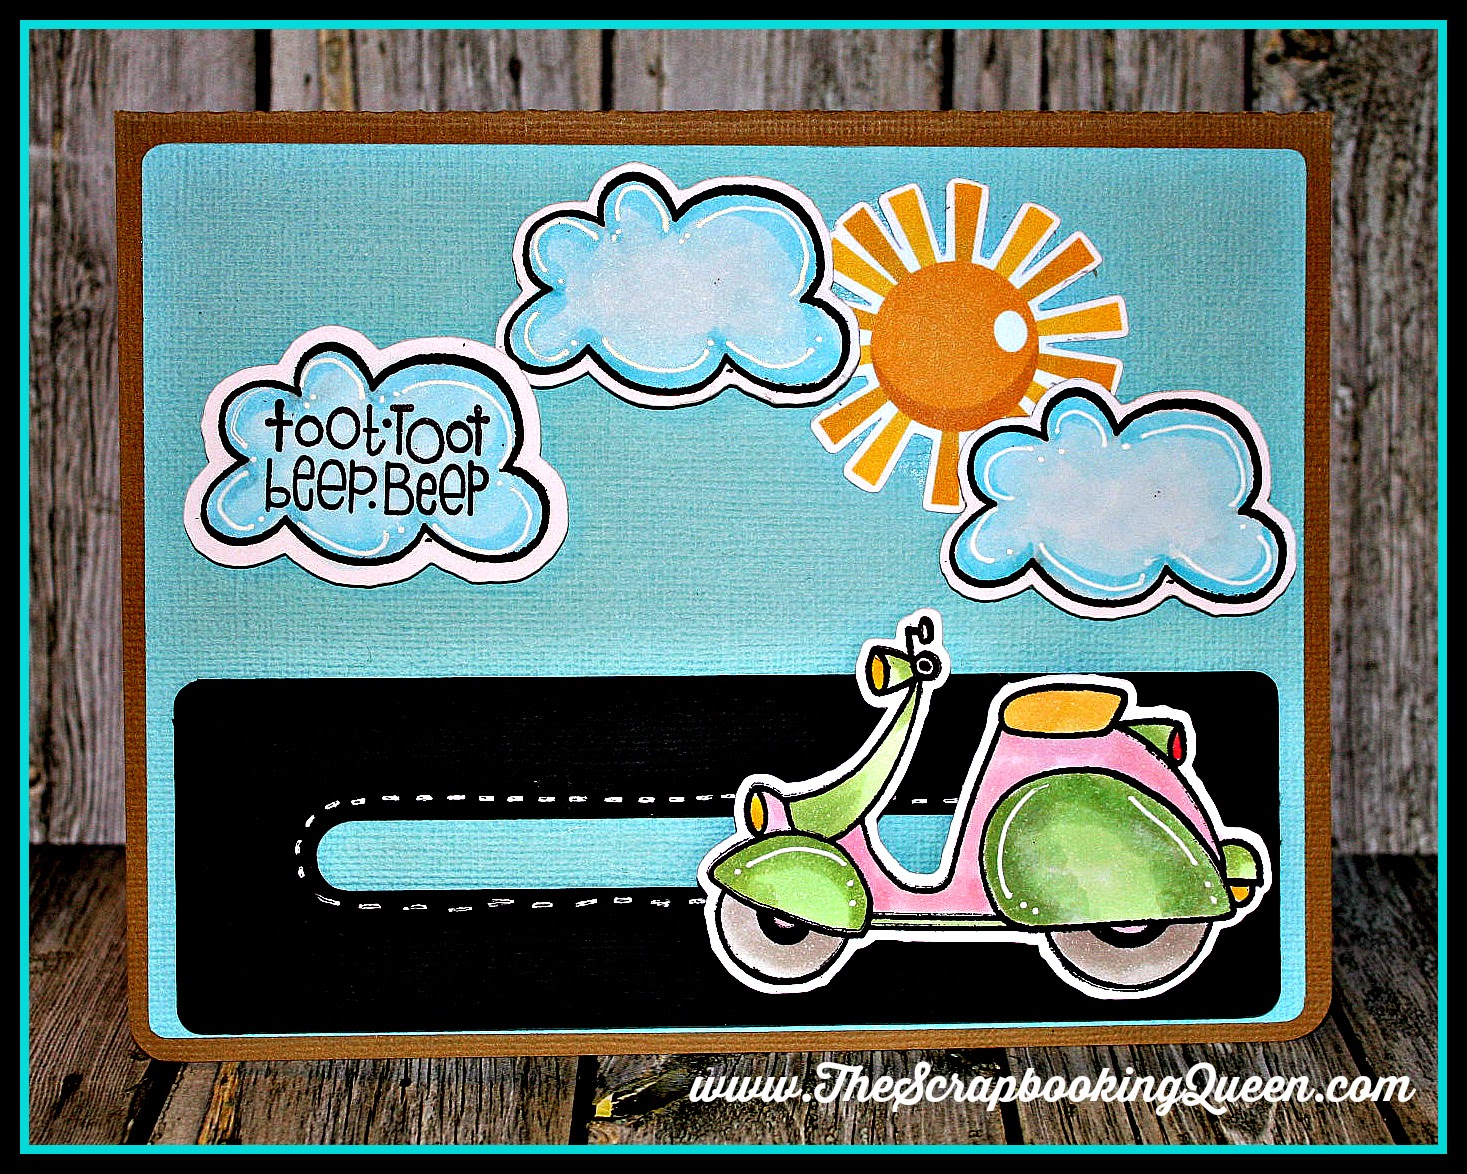
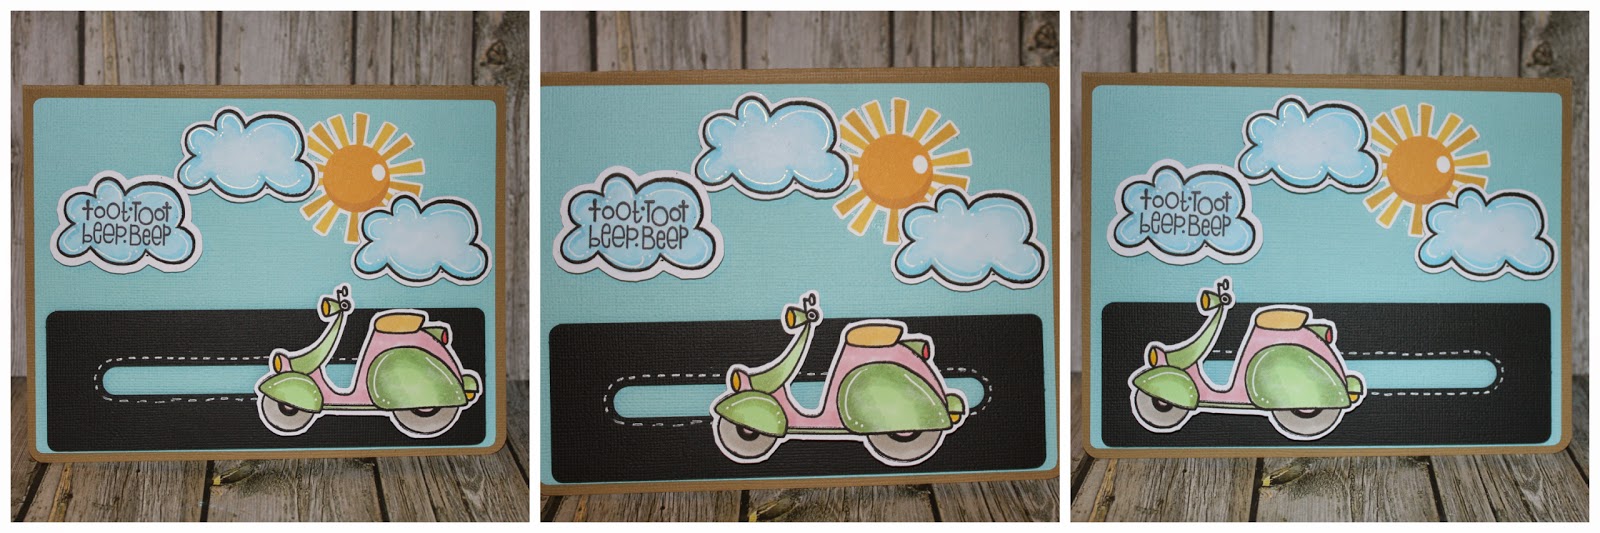
The Queen has created a cute penny slider card for using
Paper Smooches stamp set 
isn't it just the adorable, The Queen been in love
with Paper Smooches Stamp for so long 
and love how easy they are to create fun cards.
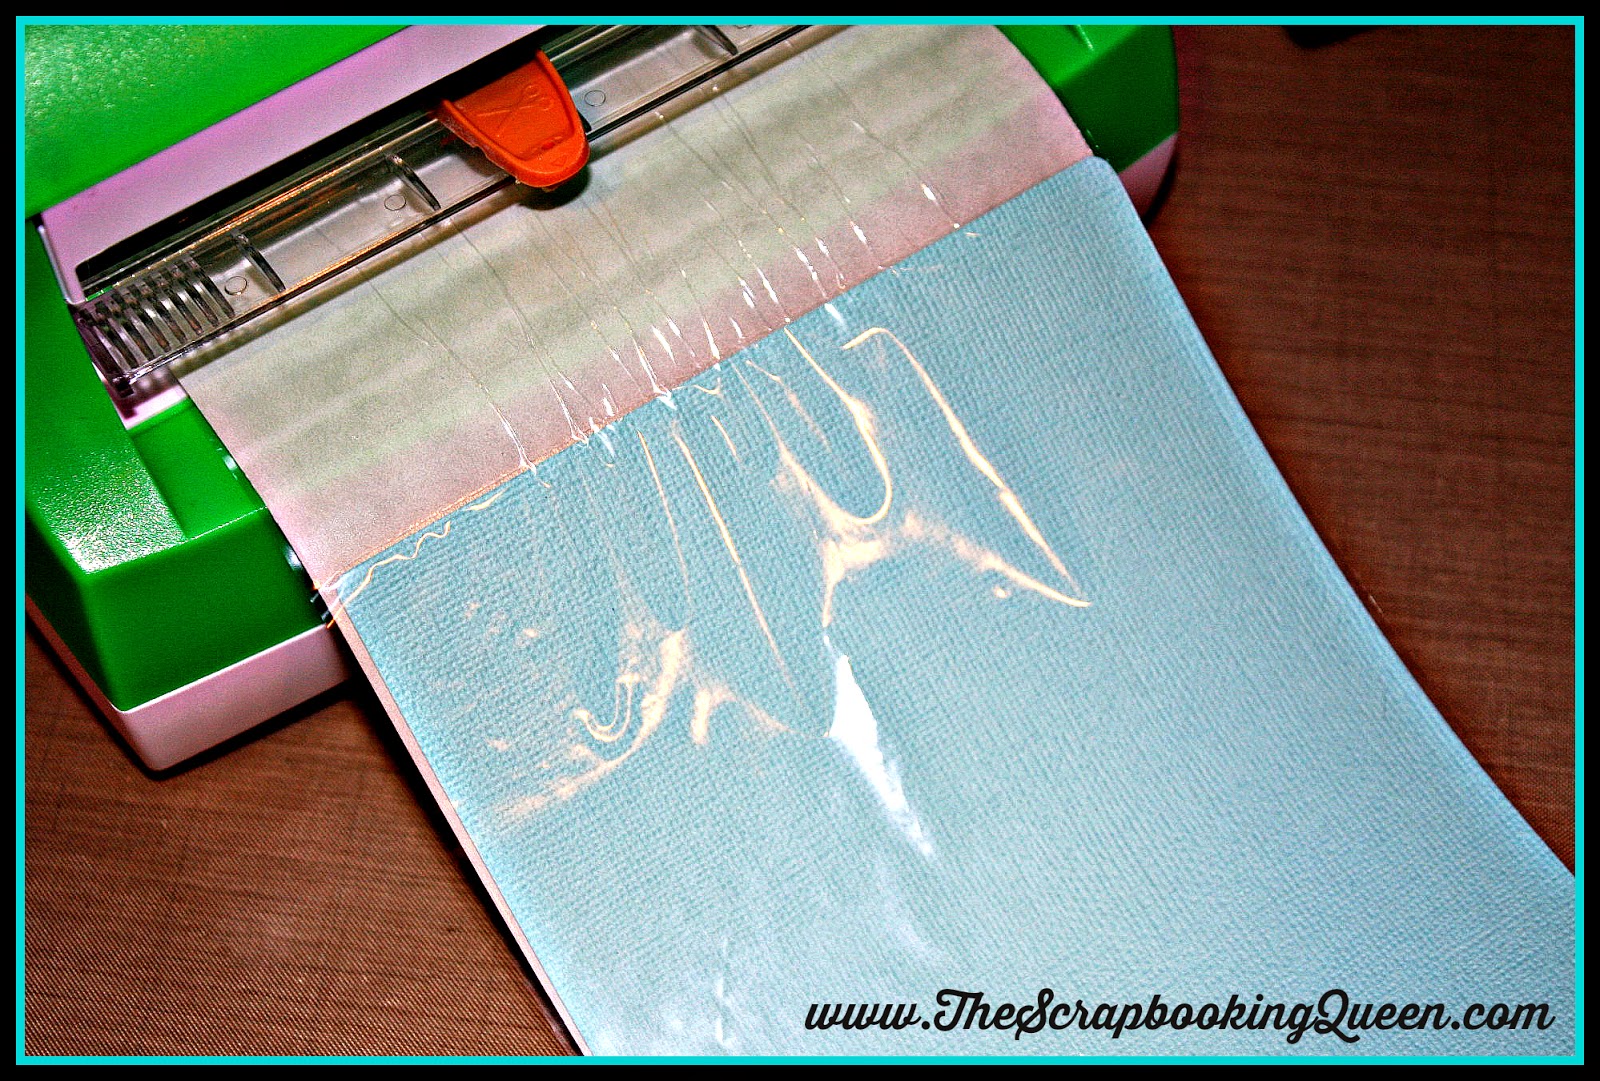
The Queen loves how easy it is to complete stick 
the back of your base for this card!  Using 
the Creative Center 9"
 allows the whole piece to slide 
through and then stick down perfectly!
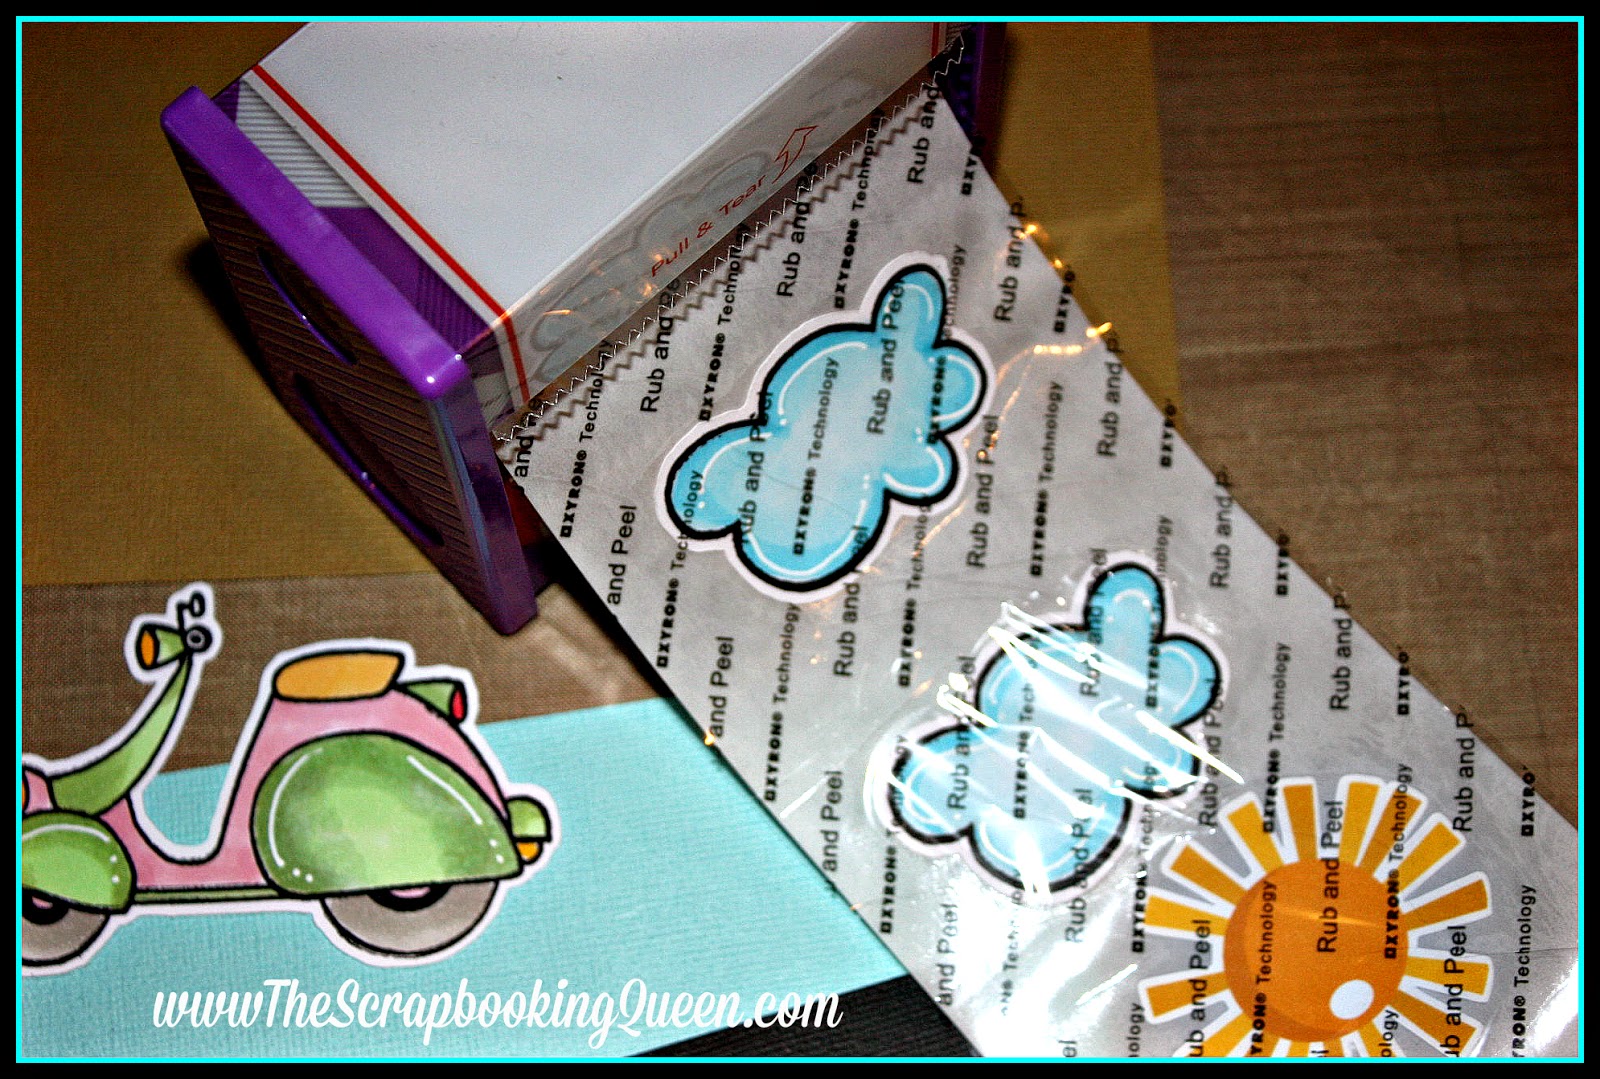
Since we needed to used a total of 4 pennies for our
Scooter to slide smoothly 
The 3" Sticker maker works wonder for the accent clouds
and cute Miss Kate Cuttables print and cut sun!
just glide them through and your ready to use them!
Here is our Card in Action as it slide from side to side
Make sure you follow my design team sister too 
they creates some awesome projects


Wednesday, April 9, 2014

Got Eggs?

Hello Everyone and Happy Spring !
Today on the Wobble Wednesday Blog  is a fun new Challenge!
Make sure you go over and join in the FUN! {HERE}

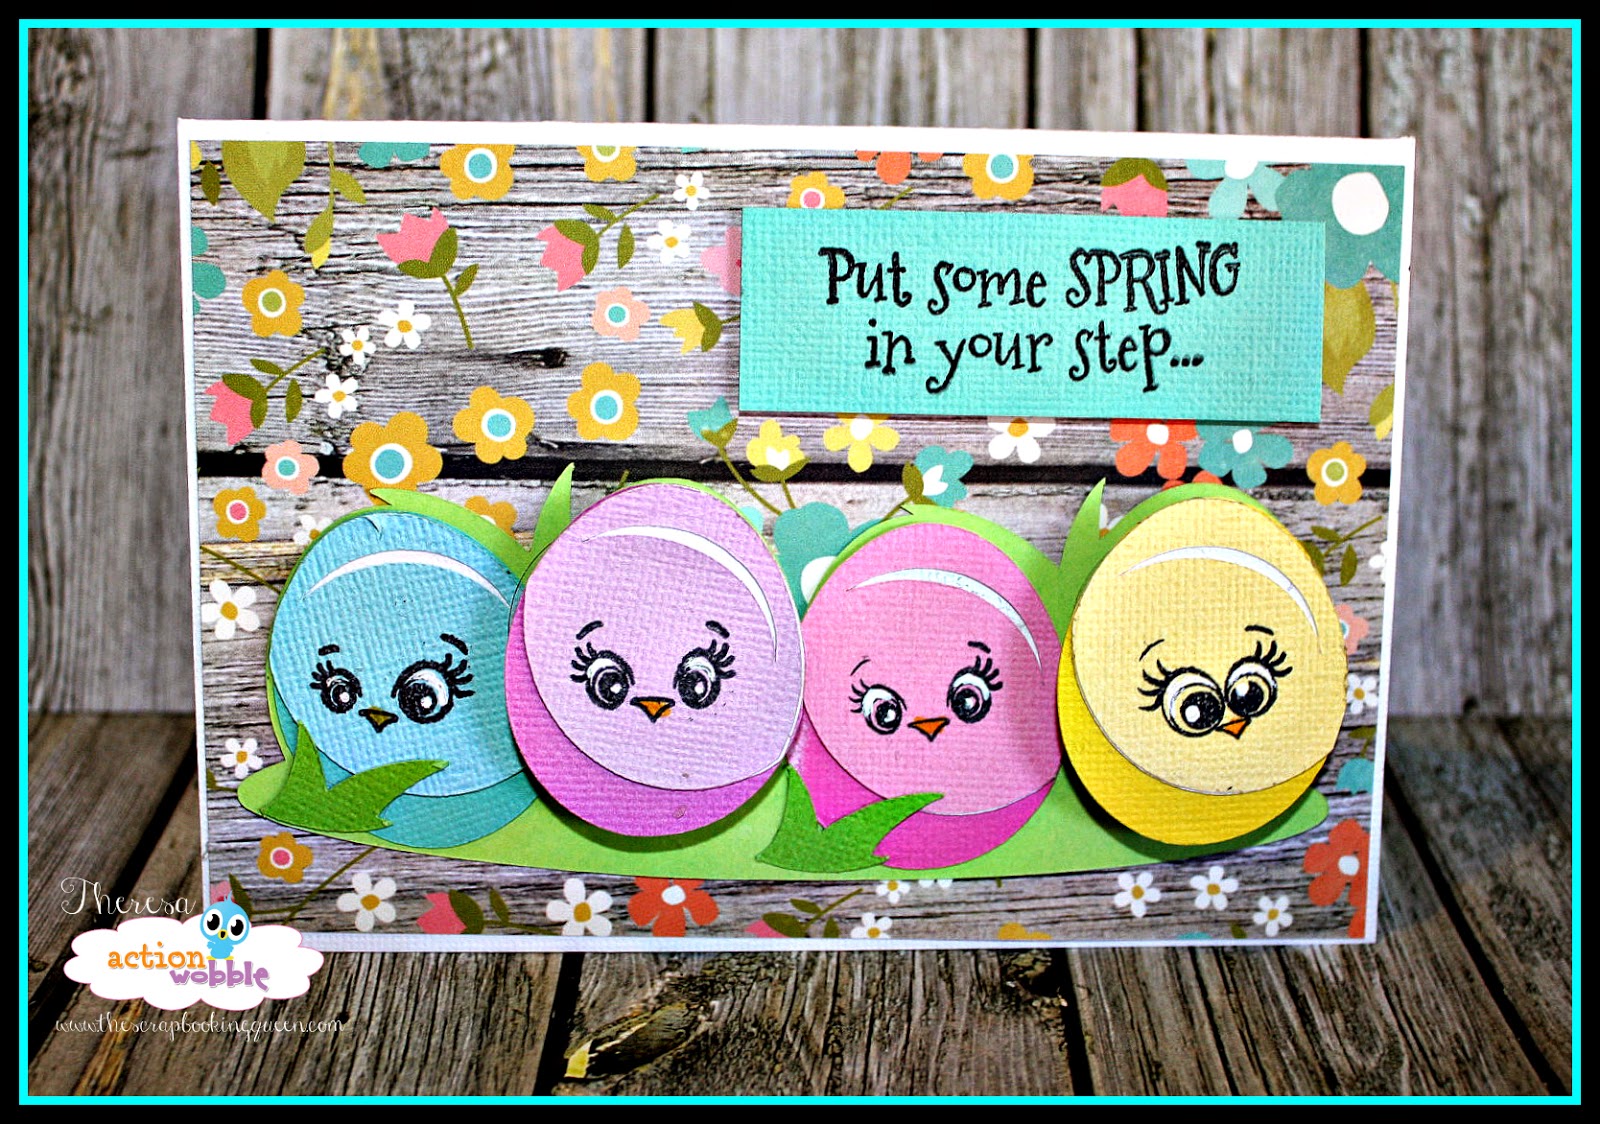
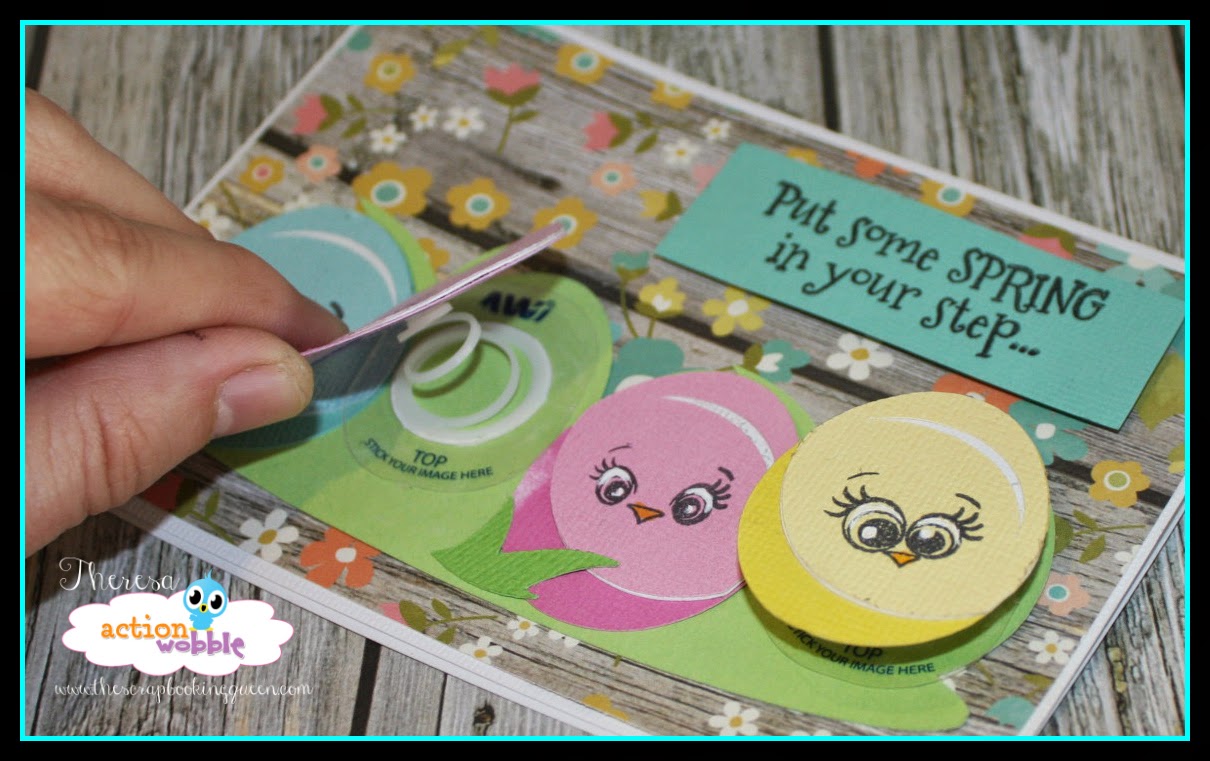
Now this weeks card done by The Queen herself was
so much fun to create !
Your Challenge is to create using a Peachy Keen Face
and of course an Action Wobble too!
The Queen used a MKC file called 
Cute Easter Eggs (HERE)
Awesome Sentiment is from Get Inky Stamps (HERE)
Easter Eggs SVG cutting file easter svg scrapbook title easter svg cut file
The two eggs have action wobbles on them
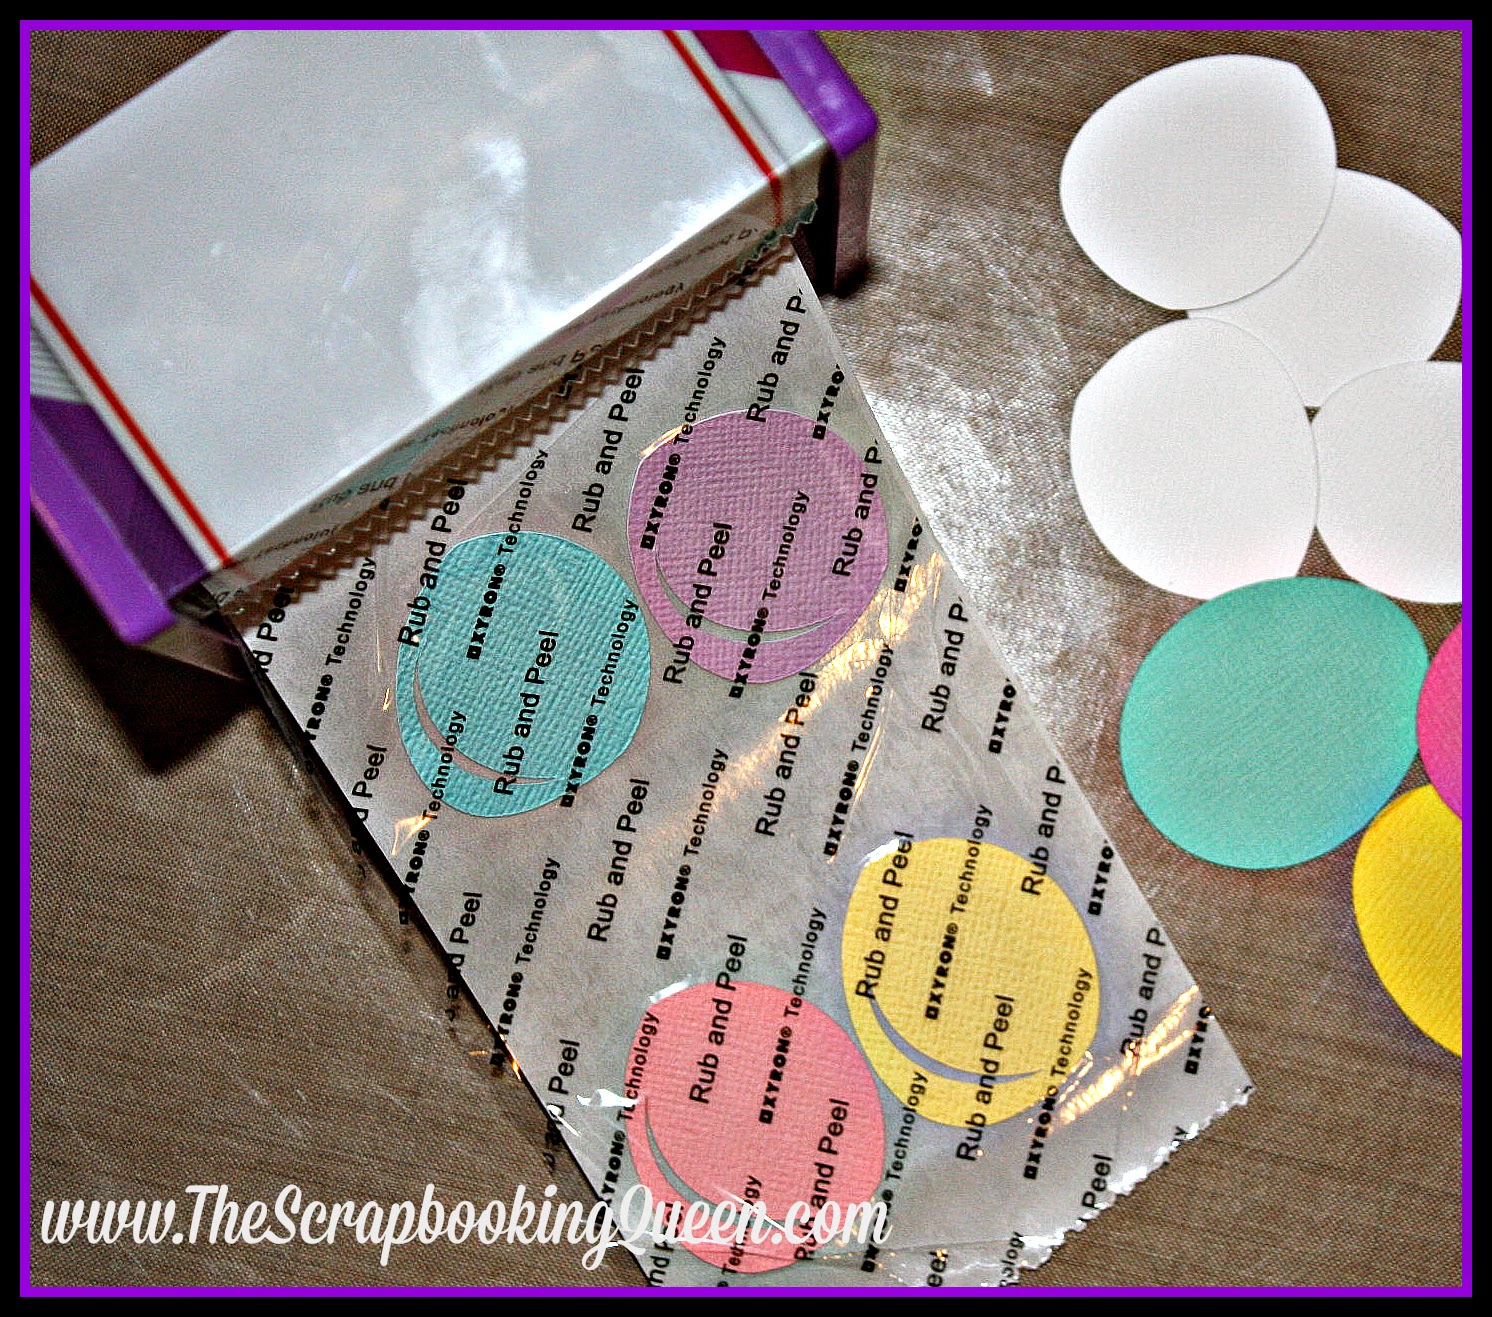
They where easy to put together with my 
Xyron 3"Create a Sticker 
Now make sure you link up your post over on
the Action Wobble Challenge Blog (HERE)
and of course share your creation on our 
Action Wobble Fan Page (HERE)

Need wobble to enter the challenge 

(Now if you don't have any Wobbles yet, don't worry!  
There is a special offer for all of you to be able to purchase 
just a few Wobbles and get in on this challenge. 
You can purchase a special pack HERE.)

Tuesday, March 25, 2014

Xyron Pinterest Challenge !

Hello and Happy Tuesday!
Today we have a wonderful post showing off some
Pinterest inspired projects .. we called it the 
Not Xyron, But SHOULD be! Board you can see all  {HERE}

The Xryon Designer each picked out some project
they like to create using their Xyron Adhesive & Tools

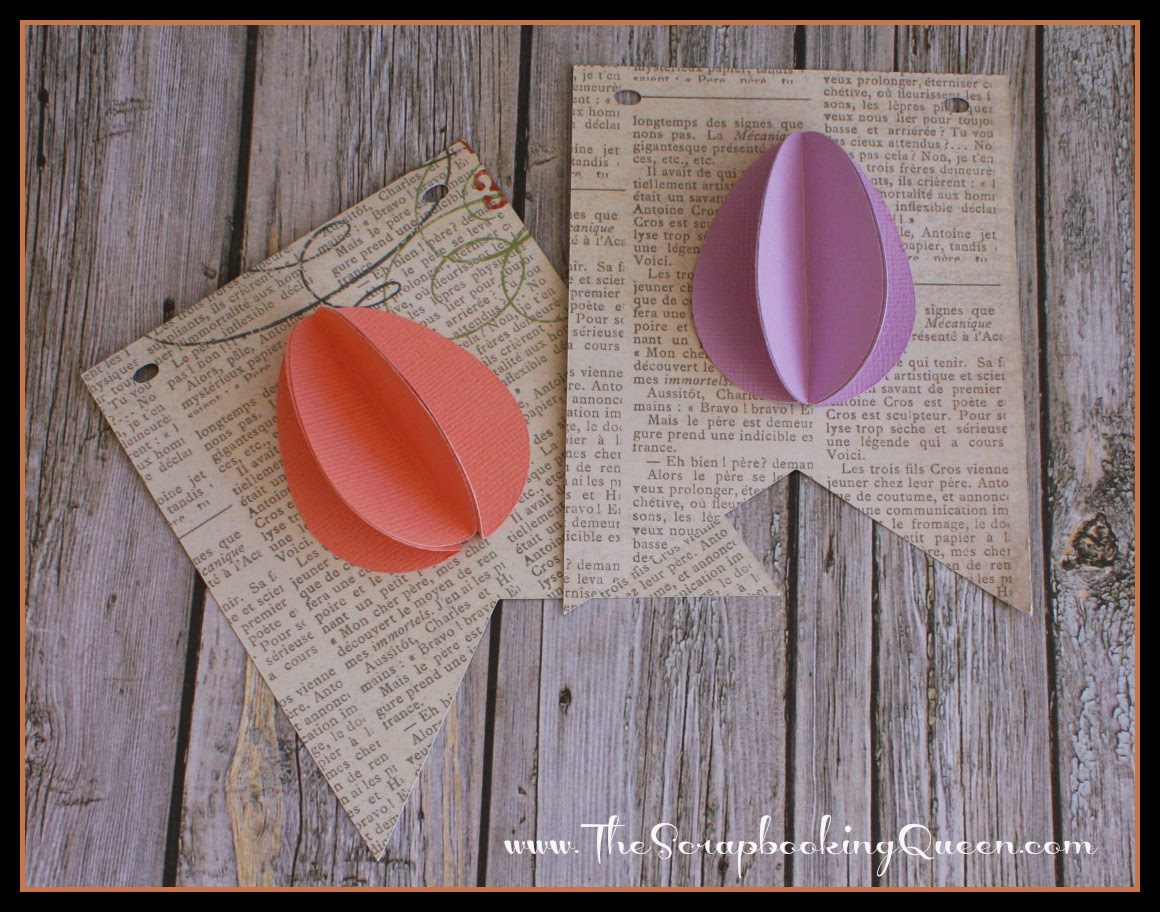
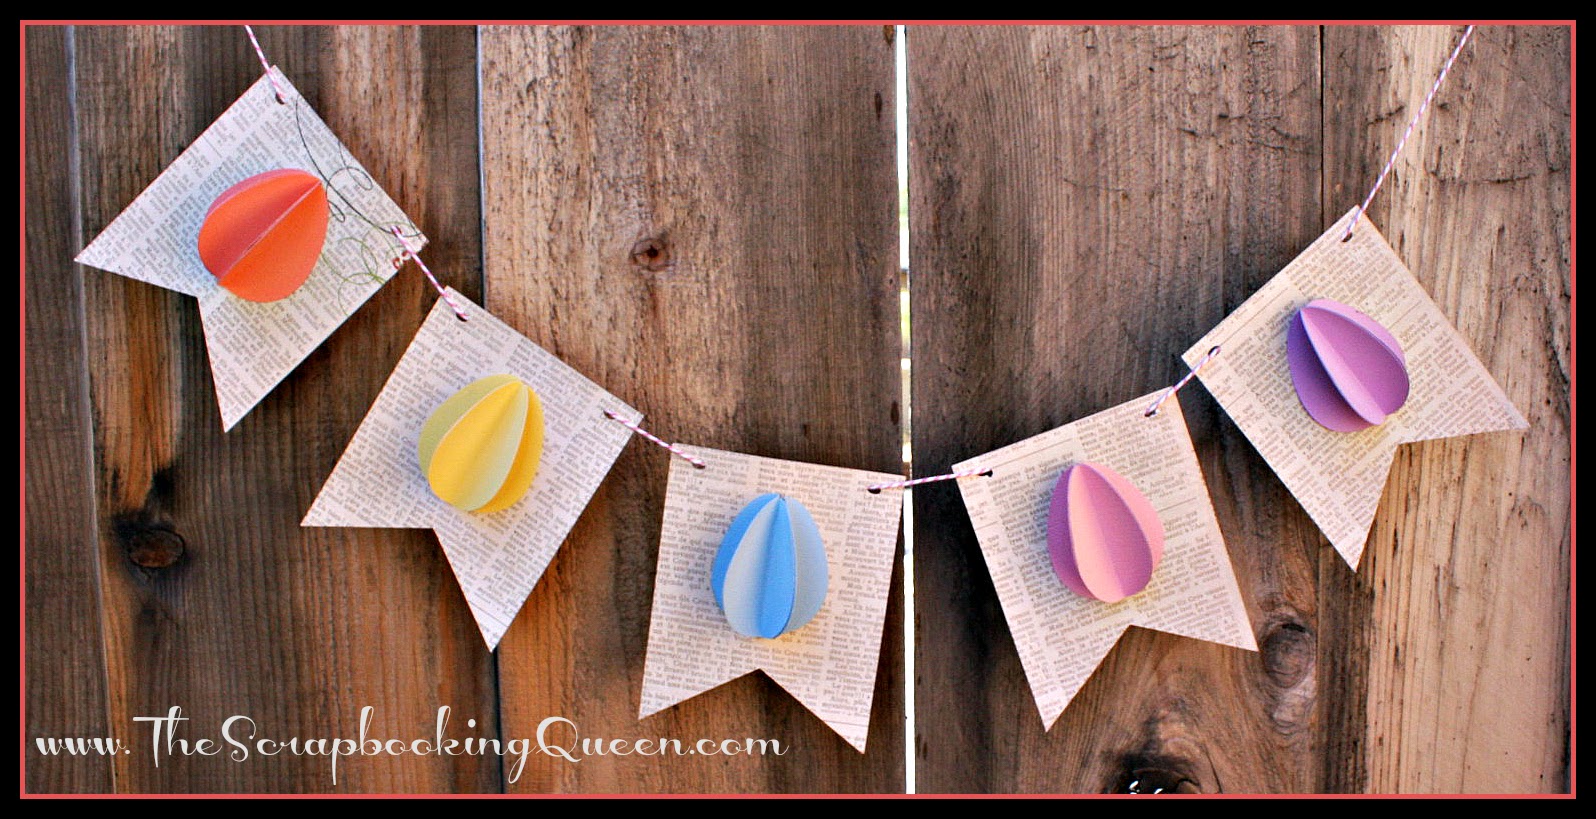
The Queen choose this adorable Egg Banner 
Here the photo that inspired my project 
Kara is the original designer post you can see {HERE}

Egg Banner~The Scrapbooking Queen 
I just love how easy this was to create 
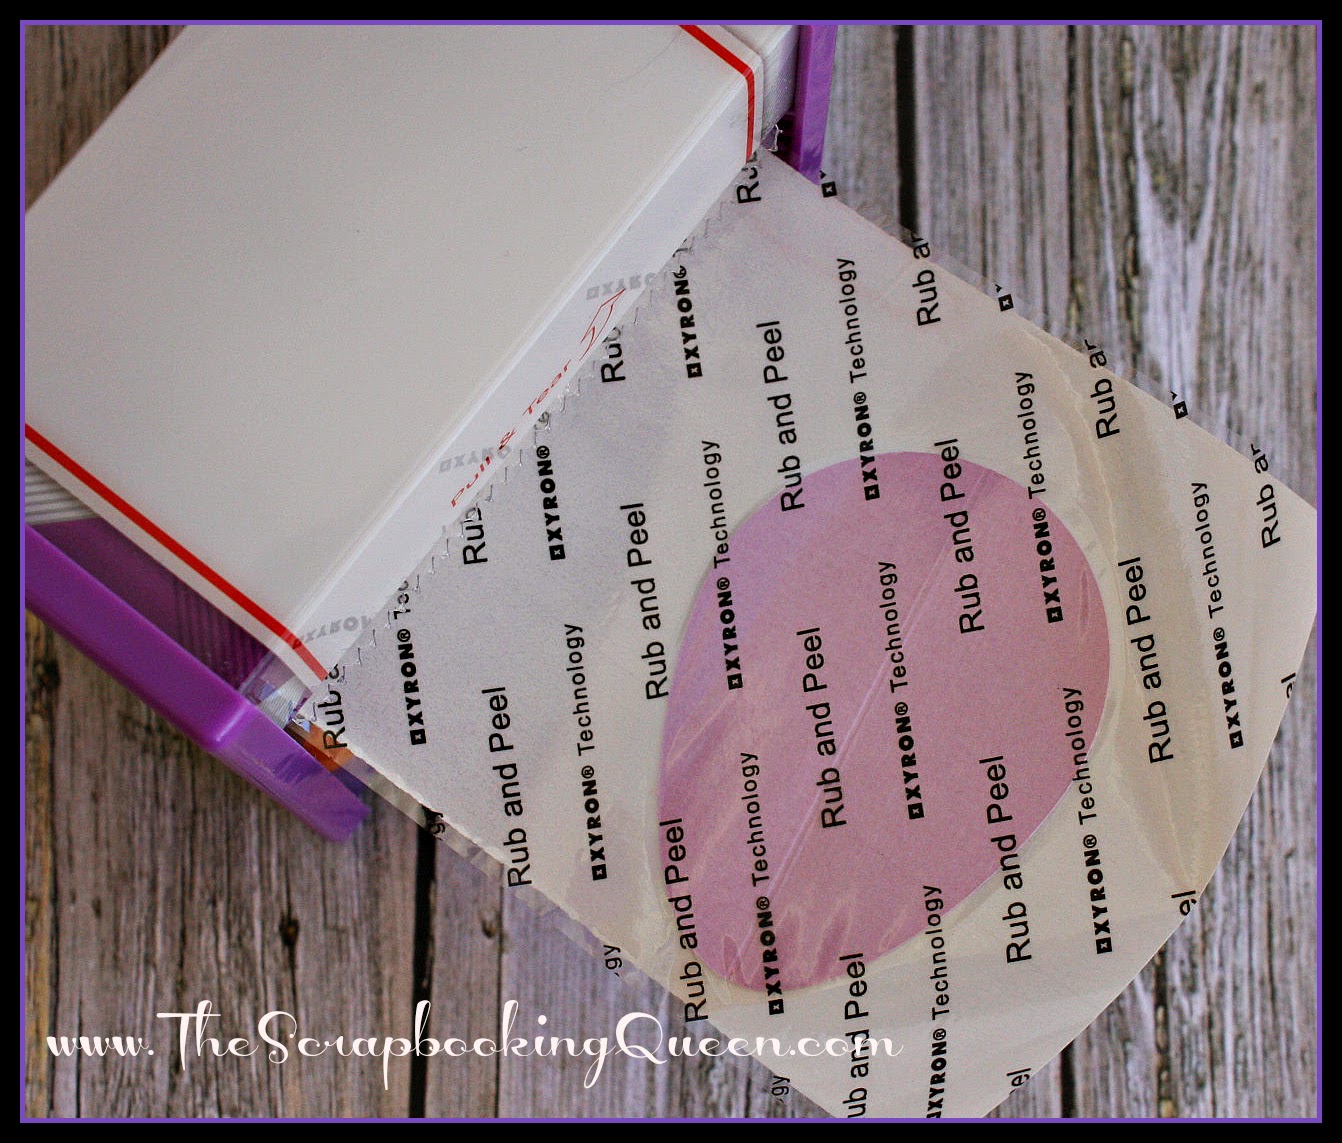
using my Xyron 3” Sticker Maker.
You’ll need a cutting machine and a SVG file for egg shape and banner base. 
This can be done by hand just create a pattern for 
banner base and egg shape, it just takes a bit longer 
but reward is worth it! Either way you’ll love it. I got mine from Silhouette Store.
Cut out several cardstock paper eggs in 
different colors you will need 3 cuts for each color.
Banner base show in photo 6,
 I like odd number so I cut out 5 bases.
They are 4” by 5 “ and if cutting by hand just cut your
 center line first then match up by cutting both sides. 
This will create the same look as I did with my cutting machine.
Found the perfect paper with wording to re-create
 the look from my inspirational photo. Any paper will work and they 
used a book for the one in photo.
 Don’t want to use a book then choice a solid or pattern paper looks just as cute.
Score your eggs down the center before running them all through the Xyron 3” Sticker Maker
Stick them together to form a 3-D effect and place flat side onto your banner base.
Then string them all together with TWINE! Easy Peasy!


Here is another project I created too!


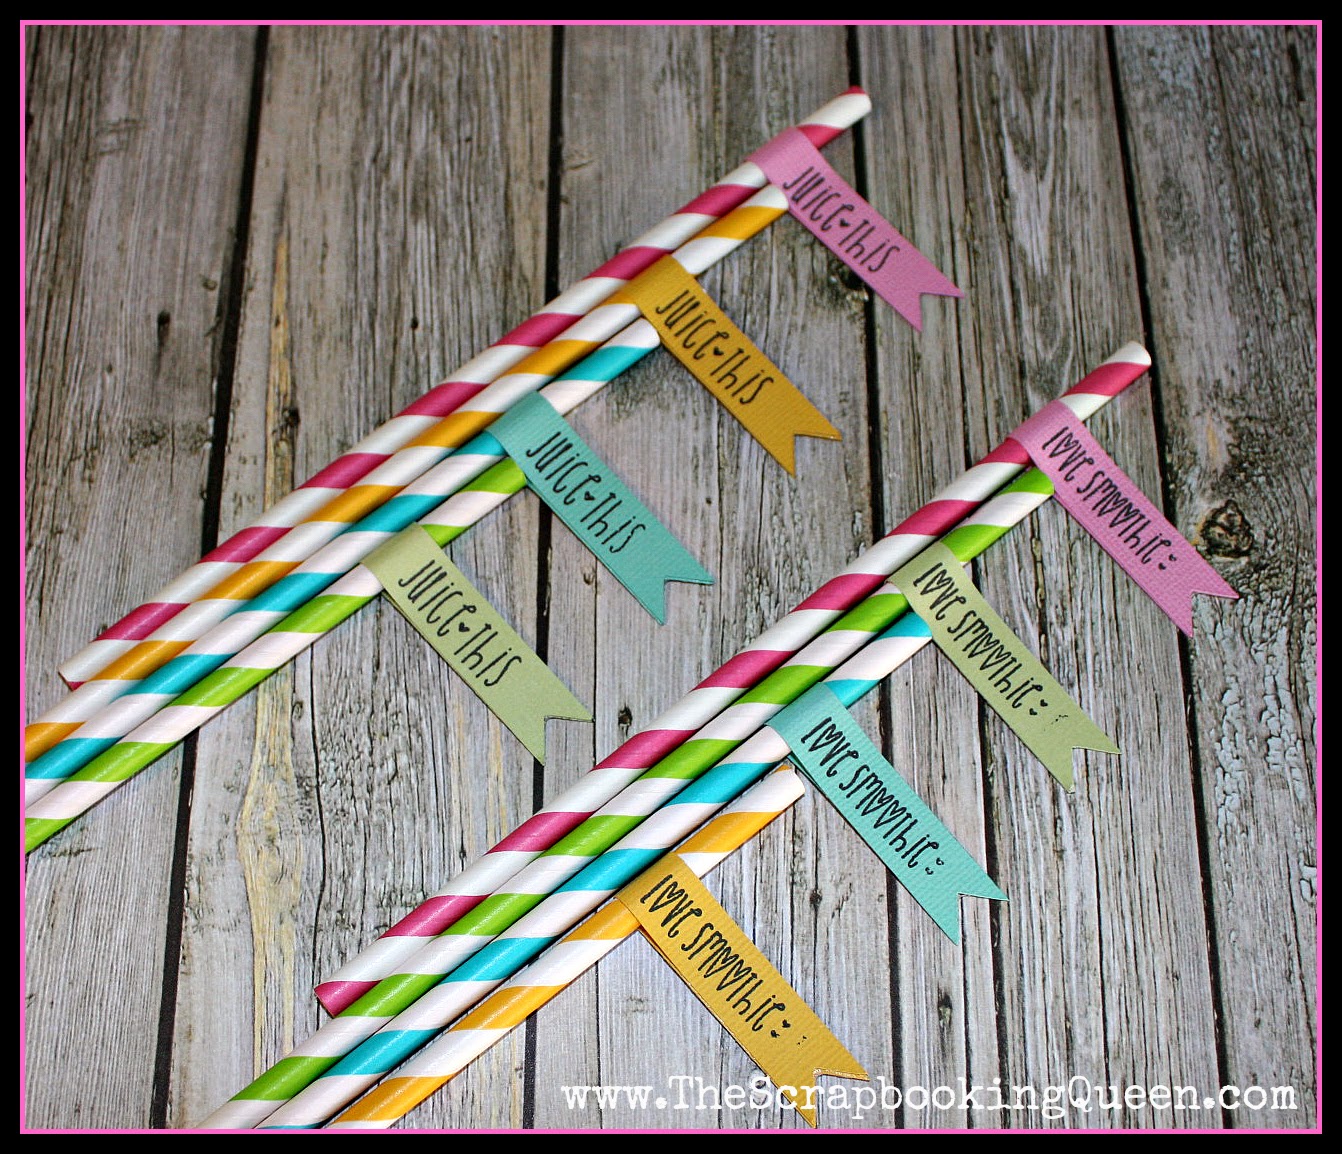
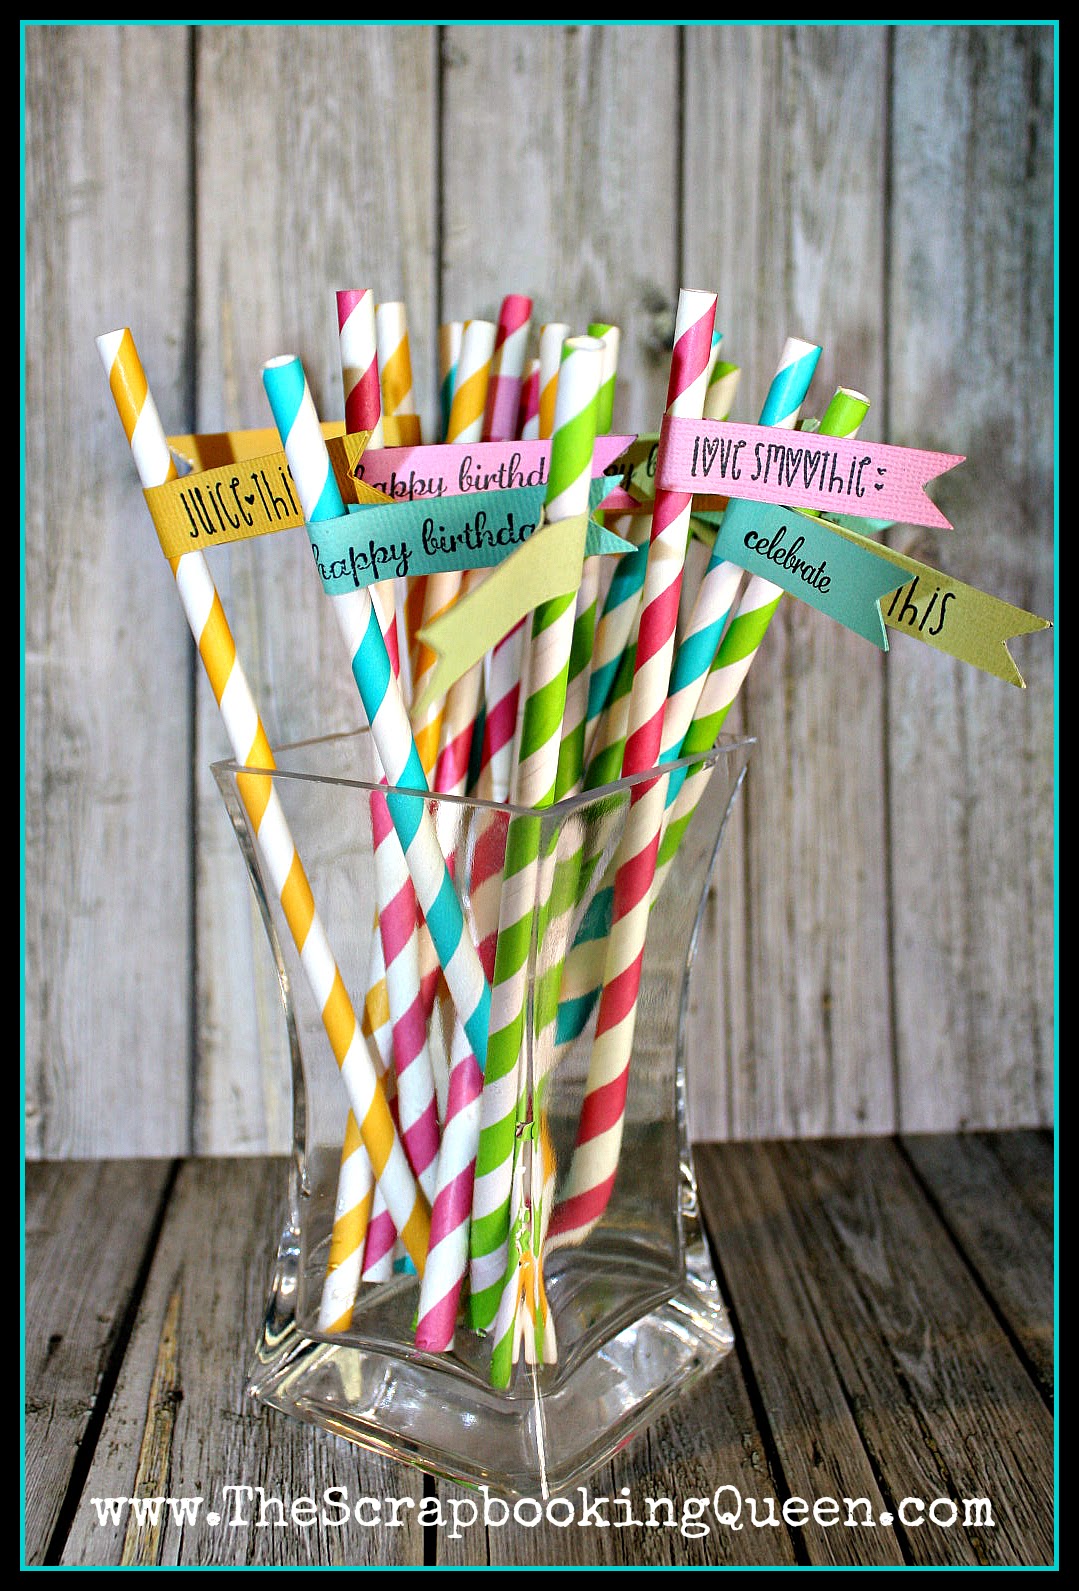
Straw Banners: The Scrapbooking Queen
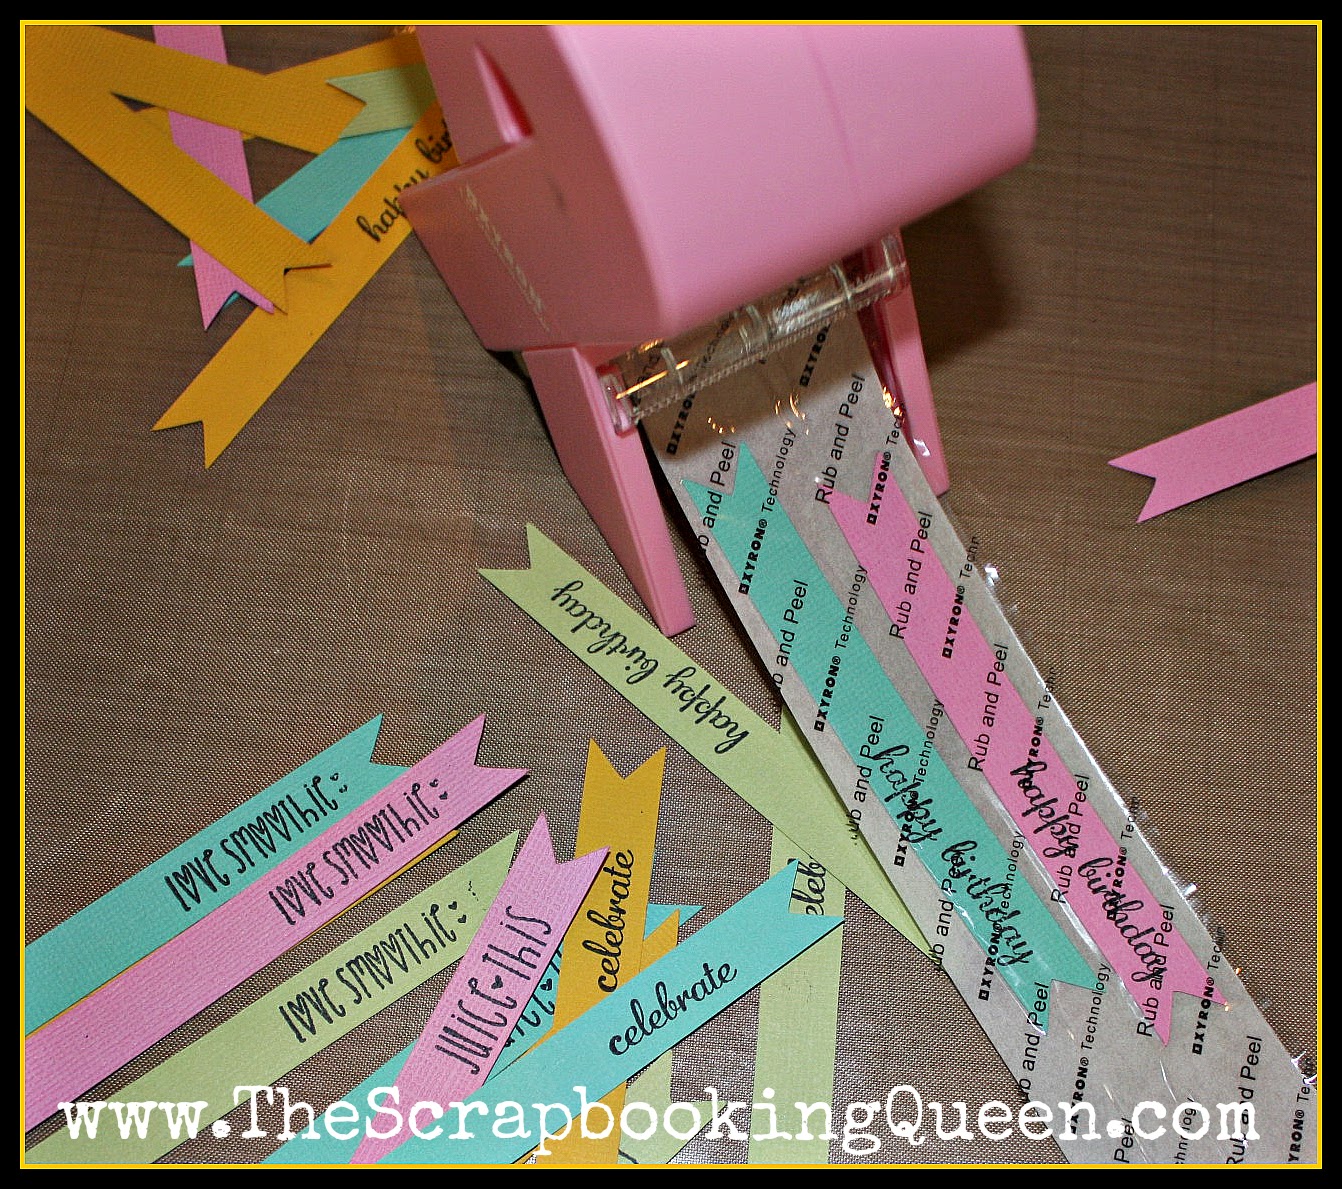
This was a easy project created using my Xyron 2" Sticker maker. 
On my cutter I created a small banner 1/2 " by 4 ". Stamped 
some really cute sentiments on the backside
 of the textured paper (so the flat side). Ran them all through
 my Xyron 2" Sticker Maker. Gather up some straws
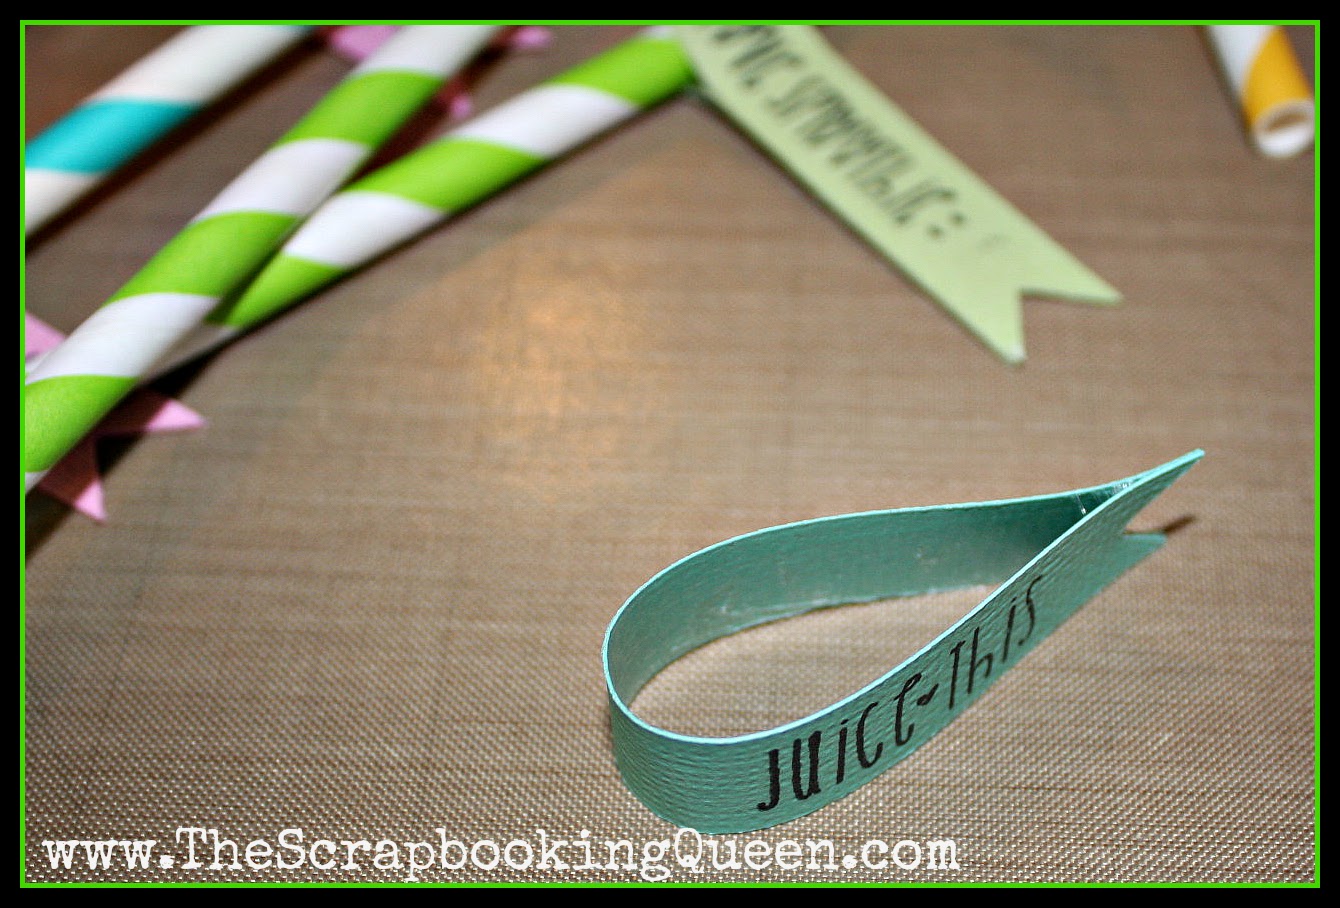
 and then wrapped the banner around the straw. 
Tip I learned is to put the ends of the banner together
 first then slide the straw through and press them together. Quick and easy !

Here is the original posting {HERE)


Hope you are inspired to create your own 
project with Xyron !